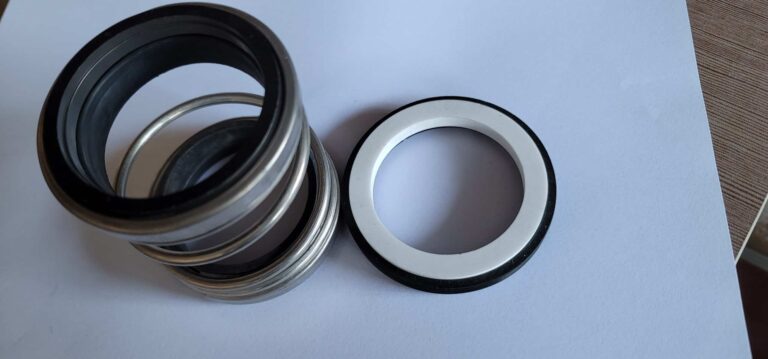
A seal that passed API 682 certification leaked 1,300 times the allowable limit when pressurized to operating conditions. The certification paperwork was pristine. The seal faces weren’t.
I’ve analyzed hundreds of seal failures over 15 years, and this pattern repeats: suppliers with impressive certificates deliver seals that fail within months. The disconnect isn’t fraud – it’s that certifications verify paperwork compliance, not manufacturing execution. When I evaluate a supplier, the first thing I want to see isn’t the ISO certificate on the wall. It’s the test rig on the factory floor.
What Testing Capability Reveals About a Supplier
A supplier’s testing capability tells you more about seal quality than any certification ever will. Certifications verify that documented procedures exist. Testing reveals whether those procedures actually produce reliable seals.
The API 682 Air Test Loophole
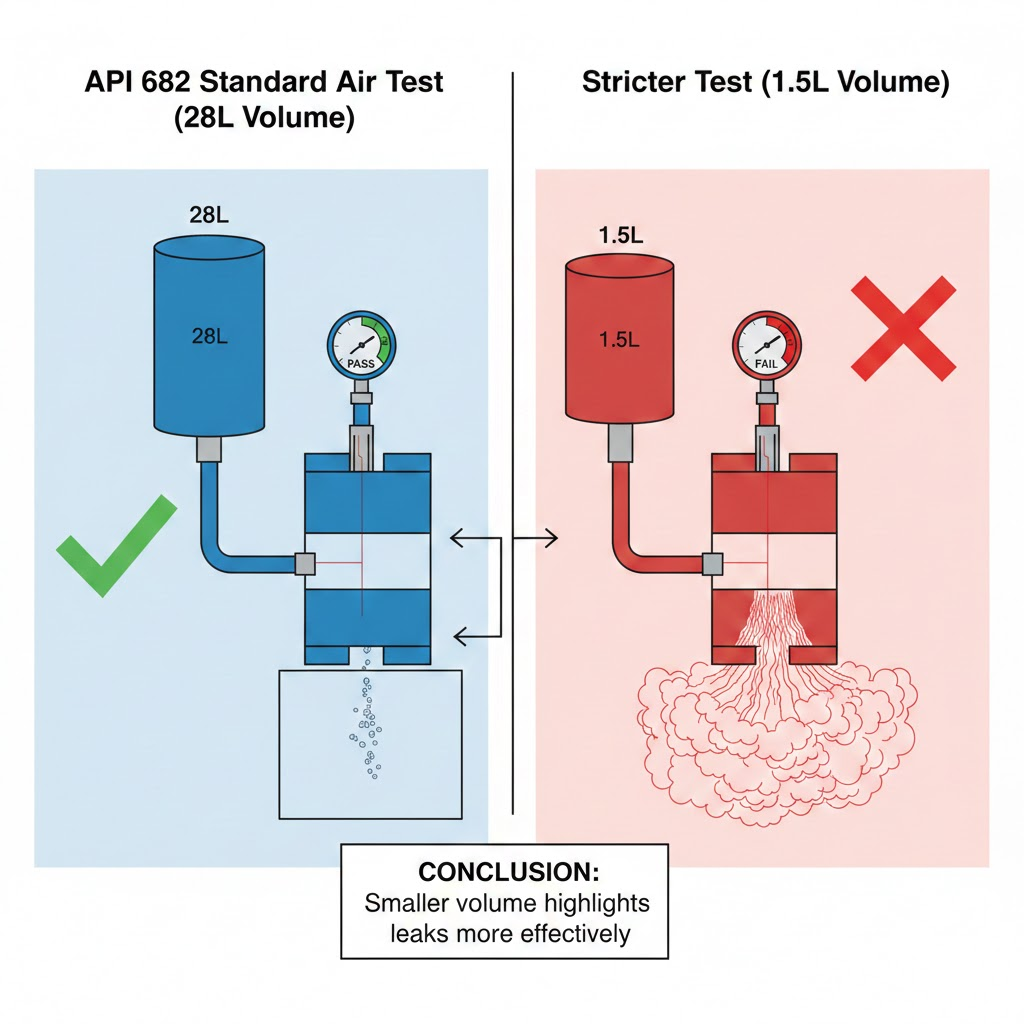
The standard API 682 air integrity test has a fundamental weakness: test volume. The specification allows up to 28 liters of air volume during testing, which masks defects that would cause immediate failure under pressure.
AESSEAL engineers demonstrated this by manufacturing a test seal with a simulated 0.008-inch defect. The seal passed the standard API 682 test with 28L air volume. Under operating pressure at 40 bar, that same seal leaked 7,500 grams per hour – 1,300 times the allowable 5.8 g/hr limit.
As Paul Lesnau of Swagelok explains, “The API 682 Integrity Test is designed to identify mechanical seal manufacturing defects and assembly errors. This mechanical seal leak test procedure isn’t designed to simulate the seal’s actual performance under operating conditions.” The test permits 56.9 g/hr air leakage – a rate that’s unacceptable for facilities facing Cal/OSHA or BAAQMD sanctions.
What to Request Instead
When I qualify a new mechanical seal supplier, I ask for test results using 1.5L air volume instead of the standard 28L. The same AESSEAL study showed that reducing test volume to 1.5L caused the defective seal to fail dramatically with a 22 psi pressure drop.
Request these specific tests and acceptance criteria:
| Test Type | Standard Threshold | What to Request |
|---|---|---|
| Air Integrity | 0.14 bar drop (28L volume) | Same threshold, 1.5L volume |
| Hydrostatic | 1.5x rated pressure, 30 min | Documented results with dates |
| Face Flatness | 2-3 helium light bands | Optical flat measurement records |
| Dynamic | Varies | 100+ hours at 3600 rpm |
If a supplier can’t perform stricter air testing or provide face flatness measurements, that tells you something about their quality capability – regardless of what certifications they hold.
Factory Floor Indicators That Matter
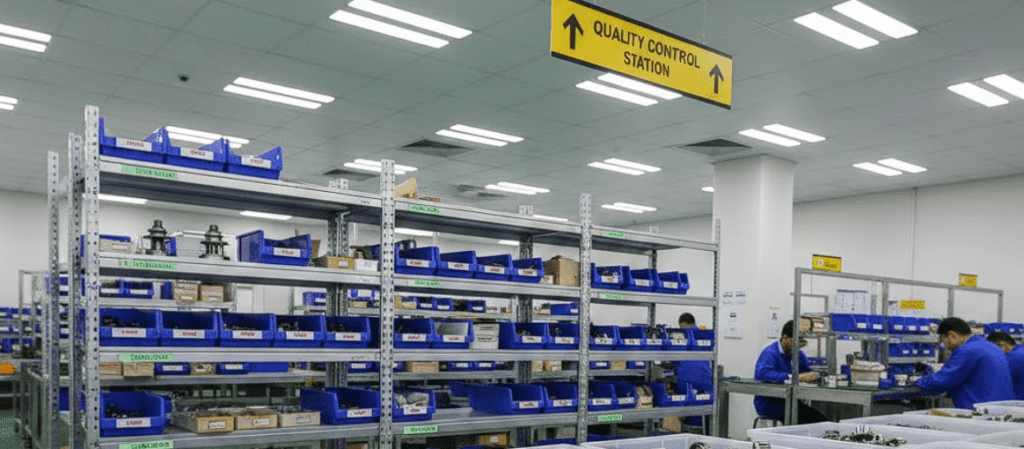
A factory visit reveals what quality manuals cannot. I’ve walked through facilities with pristine ISO documentation where the factory floor told a completely different story. Here’s what separates reliable suppliers from paper-qualified ones.
Positive indicators:
- Independent QC team separate from production staff
- Current equipment calibration records readily available
- Clear physical separation between accepted and rejected parts
- Optical flat or interferometer for seal face flatness verification
- Operating test rig visible on the floor
- Documented incoming material inspection with rejection history
- Clean, well-lit inspection stations
Red flags:
- Production workers performing their own quality checks
- No mid-process inspection points visible
- Insufficient lighting at inspection stations
- No in-house test capability and no third-party testing partnership
- Material storage in uncontrolled temperature or humidity
- No traceability system linking raw materials to finished seals
- Resistance to answering technical questions during the visit
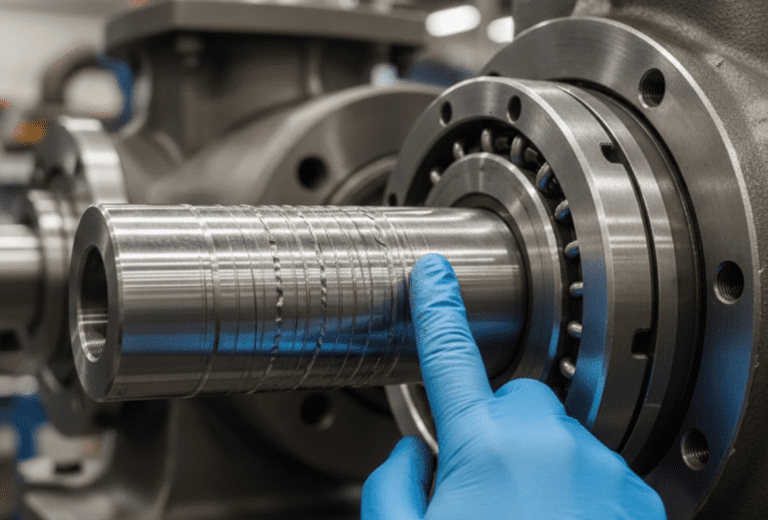
Face flatness is a reliable quality indicator. Quality seal faces are lapped to within 2-3 helium light bands (0.58-0.87 micrometers). A supplier that can’t measure this specification lacks the capability to consistently produce it. Ask to see their optical flat or interferometer, and request sample measurement records.
Verifying Certifications and Documentation
Certifications matter – but only if they’re real and relevant to what you’re buying. API 682 qualification has a limitation many buyers miss: the standard does not recognize material families. A seal qualified with specific silicon carbide and carbon faces is only qualified with those exact materials. If the supplier substitutes materials – even within the same family – the qualification doesn’t apply.
Essential documentation to request:
- API 682 qualification records: Verify the exact materials tested match what you’re ordering
- Material certificates: Should include heat numbers traceable to the source
- ISO 9001 certificate: Call the issuing body to confirm validity and scope
- Assembly test results: Specify the 1.5L volume test, not standard protocol
- Calibration records: Equipment used for your seal should have current calibration
- Failure analysis samples: Ask to see past failure reports – this shows diagnostic capability
When verifying ISO 9001, don’t just look at the certificate. Call the certification body and confirm the supplier’s registration status and scope. Fraudulent certificates exist, and a legitimate certification body will verify over the phone.
Evaluating Technical Support Capability
A reliable supplier does more than ship seals – they help you avoid failures. An Oceaneering reliability study of 40 pumps on a North Sea platform identified 12 root causes of chronic seal failures. Among them: lack of vendor involvement during commissioning.
Good suppliers should offer:
- Application review before recommending seal selection
- Installation guidance or on-site support for critical applications
- Failure analysis capability when seals don’t perform
- Clear documentation of acceptable leakage rates and operating parameters
- Training resources for your maintenance team
As Tom Borrino of John Crane notes, “Seals are very repeatable, so if you continue operating the same seal, expect to see the same rate of failure in the same manner.” This repeatability works both ways. A supplier with strong seal selection support helps you avoid the failure patterns that plague plants running incompatible seals.
Test their technical responsiveness early. Send a detailed inquiry with your operating conditions – pressure, temperature, speed, fluid properties – and evaluate the quality and speed of their response. Suppliers who provide generic catalogs instead of application-specific recommendations are telling you how they’ll support you post-purchase.
Verification Checklist
Before committing to a supplier, verify in this priority order:
- Testing capability: Can they perform 1.5L air volume testing and provide witnessed test results?
- Face measurement: Do they have optical flat capability and can they show measurement records?
- Material traceability: Can they provide certificates linking materials to your specific order?
- Certification validity: Have you called the ISO certification body to confirm?
- Technical support: Did they respond to your application inquiry with specifics, not catalogs?
The certificate verifies that someone documented a quality system. Witnessed testing verifies that the system actually produces reliable seals. When I’ve had to choose between a supplier with impressive paperwork and one who invited me to watch their test rig run, the test rig supplier delivered better seals every time.

