Installing a mechanical seal in a vertical pump requires precise technique, proper tools, and attention to detail. This guide walks you through the essential equipment, step-by-step installation process, and critical tips to ensure your seal operates reliably for years.

Tools and Equipment Needed
- General Hand Tools: Wrenches (both open-end and socket types) and hex keys for removing coupling bolts and impeller nuts.
- Measuring Instruments: Calipers or micrometers to verify shaft diameter, sleeve dimensions, and seal component sizes match specifications.
- Cleaning Supplies: Lint-free cloths and isopropyl alcohol for cleaning seal chambers, shaft sleeves, and seal faces.
- Installation Aids: Clean PVC pipe sections or wooden dowels for pressing stationary seal seats into place squarely. Never use metal hammers directly on seal parts. O-ring lubricant (silicone-based or water-based) helps elastomers slide into position without tearing.
- Removal Tools: Seal pullers or extractors to remove old stationary seats from housings without scratching bores.
- Alignment Tools: Dial indicators or laser alignment tools to check shaft alignment and runout after installation.
Step-by-Step Installation Procedures
Before starting any installation, isolate power to the motor (lockout/tagout), depressurize the pump, and drain all fluid. Verify the system is safe to work on.
Step 1: Disassemble the Pump to Access the Seal Area
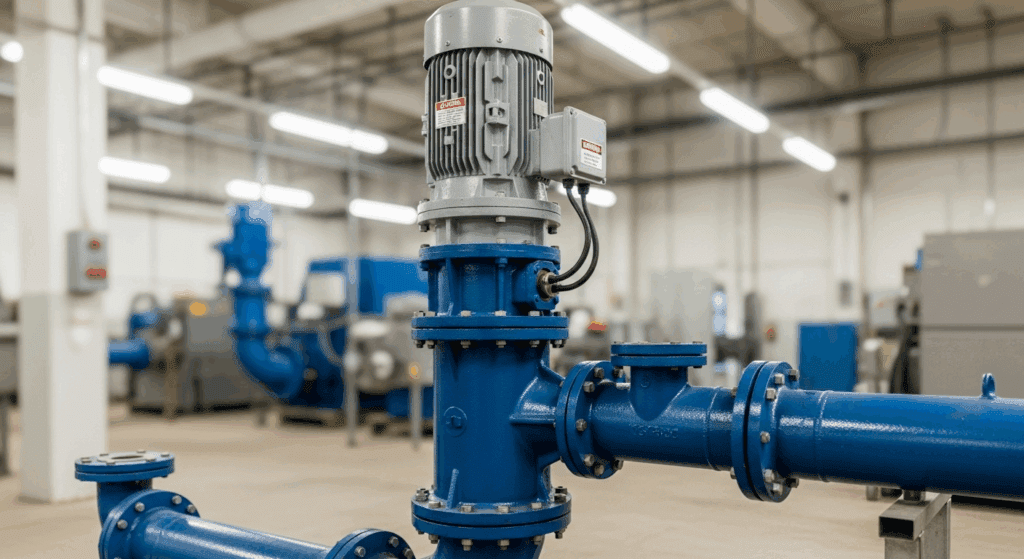
Remove any equipment blocking access to the seal chamber. This typically involves disconnecting the coupling between the pump shaft and motor, then lifting off the motor if you’re working on a vertical turbine pump.
Step 2: Remove the Old Seal
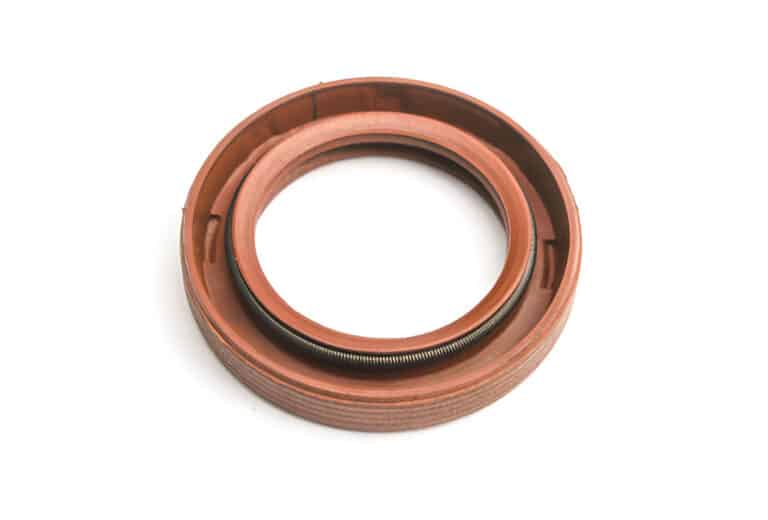
Loosen any set screws on the old seal’s rotating collar and slide the rotating components off the shaft. For the stationary seal ring, carefully pry it out from the housing without scratching the bore.
Handle seal faces with extreme care. These brittle ceramic or carbon components can chip or crack if dropped.
Step 3: Clean and Inspect All Mating Surfaces
Thoroughly clean the seal chamber, shaft or sleeve, and all mounting surfaces. Remove every trace of old gasket material, residue, and burrs.
Inspect the shaft sleeve for grooves or wear where the old seal contacted it. A deeply scored sleeve should be replaced because it will cause the new seal to leak.
Check that the seal chamber bore is smooth and flat. Cover any sharp keyways with tape to protect O-rings during installation.
Step 4: Inspect the New Seal Components
Unpack your new seal and verify all parts are in good condition. Look for chips, cracks, or tears in seal faces and O-rings.
If any component is damaged, do not proceed. Obtain a replacement before continuing.
Step 5: Lubricate O-Rings and Shaft Surfaces
Apply a light coating of compatible lubricant to the shaft and all seal elastomers. Use the lubricant provided with the seal or a manufacturer-approved silicone-based or water-based product.
Never use petroleum grease unless specifically approved. It can swell or degrade certain O-ring materials and reduce seal life.
Step 6: Install the Stationary Seal Seat
Place the stationary seal ring into the seal chamber bore with its O-ring or gasket properly positioned. Press the seat straight down using thumbs on opposite sides or a clean section of PVC pipe that matches the outer diameter.
The seat must bottom out completely and sit perfectly perpendicular to the shaft. An uneven or tilted seat causes face misalignment and leakage.
Wipe the seal face clean with a lint-free cloth and alcohol. Ensure no fingerprints or debris remain on the polished surface.
Step 7: Install the Rotating Seal Assembly
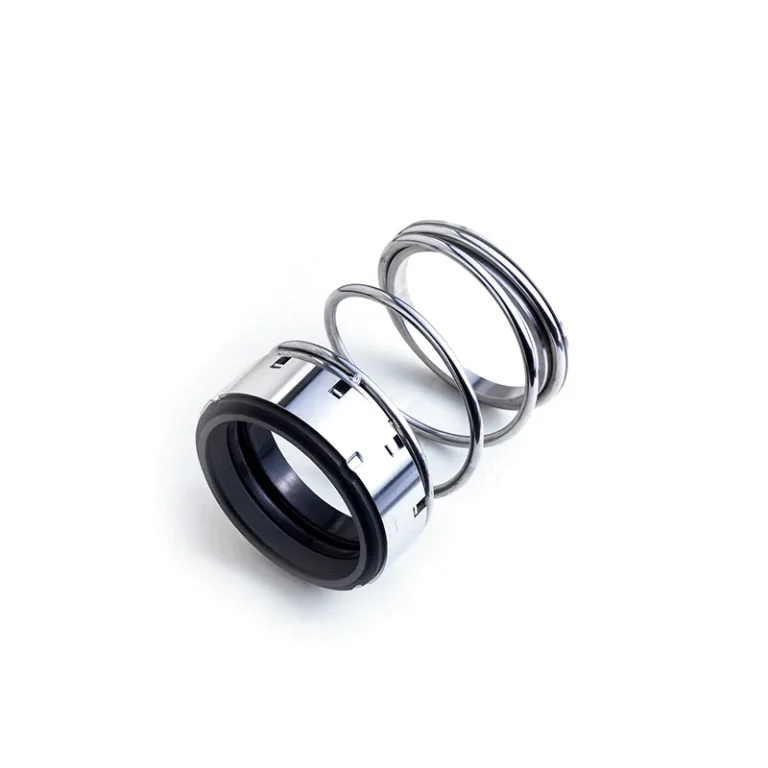
Carefully slide the rotating seal components onto the shaft. Take care not to touch or contaminate the polished seal face.
If your seal uses set screws, keep them loose initially so the seal can move into position. Slide the rotating unit along the shaft until it meets the stationary seat.
Once positioned, tighten any set screws alternately in small increments to keep the seal concentric on the shaft. Follow manufacturer specifications for spring compression or setting dimensions.
Step 8: Install or Reinstall the Gland Plate
If your seal uses a gland plate, install a new gasket or O-ring on it. Mount the gland over the assembled seal and align it with the bolt holes.
Insert all gland bolts and tighten them evenly using a criss-cross pattern. Make two to three passes, tightening gradually each time.
Use a torque wrench if specifications are provided. Over-tightening can distort the gland or crush seal components.
Step 9: Reconnect and Align the Pump Drive
Reassemble any removed pump parts, including the impeller with a new O-ring. Reattach the coupling between pump shaft and motor.
Use a dial indicator to verify the shaft runs true and the seal gland face is square to the shaft. Typical acceptable runout is 0.001 to 0.004 inches total indicated runout. Adjust motor shims or positioning as needed to meet alignment tolerances.
Step 10: Connect Lubrication and Cooling Lines
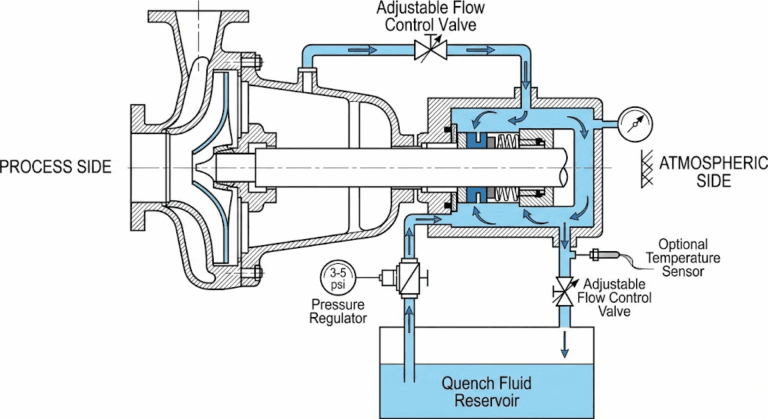
If your seal requires external flushing or cooling, reconnect those lines now. Many vertical pump seals use a flush plan that recirculates fluid from the pump discharge to provide cooling and lubrication.
Ensure the flush inlet is at the top of the seal gland to vent vapor and prevent air pockets. Verify all piping is clear of debris and fully open.
Step 11: Perform Final Checks and Start Up
Prime the pump by filling the casing and seal chamber with liquid. Mechanical seals must never run dry, even for a moment.
Turn the shaft by hand to confirm smooth rotation and that seal faces aren’t binding. Check that all auxiliary lines are connected and valves are in the correct positions.
Start the pump briefly while observing the seal area. A very slight weep or vapor is normal initially, but there should be no continuous dripping.
Monitor the seal closely during the first few hours of operation.
FAQs
How long does it take to install a mechanical seal in a vertical pump?
A typical cartridge seal installation takes 2 to 4 hours for an experienced technician, including disassembly, cleaning, installation, and reassembly. Component seals may require additional time for proper adjustment and alignment.
Can I reuse the old shaft sleeve when installing a new seal?
You can reuse the sleeve only if it’s smooth and free of grooves or wear marks. A worn sleeve will cause the new seal to leak because it no longer provides a proper sealing surface.
Can I install a mechanical seal without draining the pump?
No. You must always drain and depressurize the pump before opening the seal chamber. Working on a pressurized system is extremely dangerous and makes proper seal installation impossible.


