Well pump problems can leave you high and dry, without access to the water you need for daily life. Many issues with well pumps stem from improper priming, leading to frustrating and costly downtime.
In this post, we’ll guide you through the process of correctly priming your well pump. We’ll cover the different types of well pumps, provide step-by-step instructions for priming, and share valuable troubleshooting tips to help you identify and resolve common issues.

Types of Well Pumps and Priming
The two main types of well pumps are submersible pumps and jet pumps.
Submersible Pumps
Submersible pumps are the most common type of well pump. They are designed to be fully submerged in the well water and are typically used in deeper wells. Submersible pumps consist of a sealed motor that is directly coupled to the pump, and they push water up to the surface.
One of the main advantages of submersible pumps is that they are self-priming. Because they are submerged in water, there is no need to manually prime the pump. When the pump is turned on, it is already filled with water, allowing it to begin pumping immediately.
Jet Pumps
Jet pumps are another common type of well pump. Unlike submersible pumps, jet pumps are mounted above ground, typically in a well house or basement. Jet pumps create suction to draw water from the well and then pressurize it to push it into the home’s plumbing system.
There are two main types of jet pumps: shallow well jet pumps and deep well jet pumps.
Shallow Well Jet Pumps
Shallow well jet pumps are used for wells that are less than 25 feet deep. These pumps have a single pipe that extends down into the well. The pump creates suction to draw water up through the pipe and into the home.
Priming a shallow well jet pump involves filling the pump housing and suction pipe with water. This is typically done by removing the priming plug on top of the pump and pouring water into the opening until it is full. Once the pump is primed, it can create the necessary suction to draw water from the well.
Deep Well Jet Pumps
Deep well jet pumps are used for wells that are deeper than 25 feet. These pumps have two pipes: a suction pipe and a pressure pipe. The suction pipe extends down into the well, while the pressure pipe is connected to an ejector assembly located within the well.
Priming a deep well jet pump is similar to priming a shallow well jet pump. The main difference is that both the suction and pressure pipes must be filled with water. This is accomplished by removing the priming plugs on both the pump and the ejector assembly and filling them with water until full.
Steps to Prime a Well Pump
1. Turn Off Power Supply
Locate the appropriate breaker in your electrical panel and switch it to the “off” position. Verify the pump is de-energized by attempting to turn it on; no sound or vibration should be present.
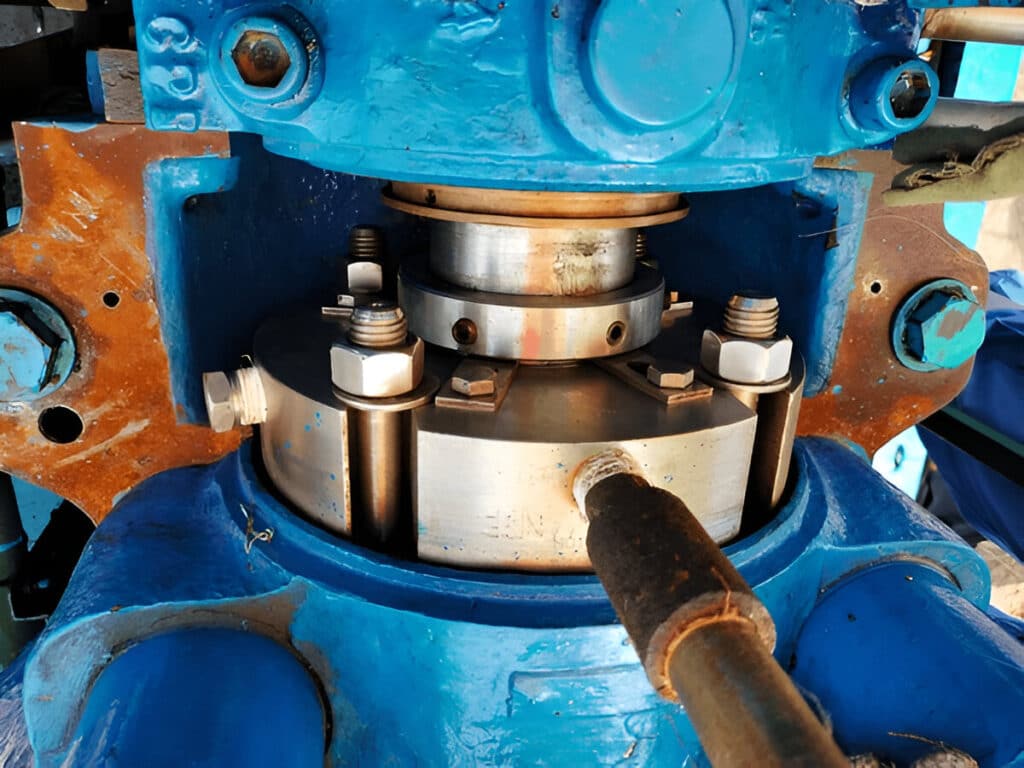
2. Identify the Priming Port
Well pumps are equipped with a priming port, which is usually a threaded plug situated on the top of the pump casing. If you have difficulty finding the priming port, refer to the manufacturer’s documentation for guidance. Once located, carefully remove the plug using the appropriate tools, such as a wrench or pliers.
3. Prepare a Clean Water Source
To prime the pump, you will need a clean water source. The water used for priming should be free of contaminants and debris that could damage the pump or compromise your water quality. If your well water is used for drinking, ensure the priming water is also potable. Position your water source near the priming port for easy access.
4. Fill the Pump Casing
With your clean water source ready, begin slowly pouring water into the priming port. To minimize spillage and ensure a controlled flow, use a funnel to direct the water into the opening. Continue adding water until it begins to overflow from the port. This overflow indicates that the pump casing is completely filled, and all air pockets have been eliminated. Depending on the size of your pump, this process may require several gallons of water.
5. Reinstall the Priming Plug
After the pump casing is filled to capacity, carefully reinstall the priming plug. Ensure the plug is properly aligned with the threading and tighten it securely using the appropriate tools.
6. Restore Power and Verify Operation
With the priming process complete, it is now safe to restore power to the well pump. Return to your circuit breaker panel and switch the appropriate breaker back to the “on” position. Upon re-energizing, you should hear the pump activate and begin to build pressure.
To test the pump’s operation, open a faucet in your home and observe the water flow. If the pump was primed successfully, water should flow smoothly and steadily from the faucet. If air sputters or the flow is interrupted, the pump may need to be re-primed.
Troubleshooting
Check for Leaks
One common cause of a well pump losing its prime is air entering the system through leaks. Carefully inspect all pipes, connections, and fittings for any signs of cracks, holes, loose joints or other damage that could allow air infiltration. Even a pinhole-sized opening can be enough to break the vacuum and cause priming issues.
Pay particular attention to threaded connections, as these are prone to leaking if not properly sealed. Applying Teflon tape to the threads before assembly helps ensure an airtight fit. If you discover any leaks, tighten connections or replace damaged components as necessary. Once repairs are made, you’ll need to re-prime the pump and check if the issue is resolved.
Inspect the Foot Valve
The foot valve is a component located at the bottom of the well pipe. Its purpose is to maintain the water level in the pipe when the pump is off, preventing water from draining back down into the well. A stuck open or leaking foot valve will allow water to gradually seep out, requiring the pump to be primed again before use.
To check the foot valve, first disconnect power to the pump. Remove the pipe from the top of the well casing and pull up the first few feet of pipe. If it holds water, the foot valve is likely functioning properly. If it’s empty, indicating water drained back, the foot valve is bad and needs to be replaced.
Examine the Pressure Switch
The pressure switch is the control mechanism that turns the well pump on and off automatically to maintain water pressure in the system. It contains an adjustable spring-loaded diaphragm that opens and closes contacts based on water pressure.
A failing pressure switch can cause the pump to short cycle, run continuously, or not activate at all. Short cycling puts excessive strain on the pump, leading to premature wear. One sign of a bad pressure switch is if the pump loses prime soon after being turned off.
If you suspect issues with the pressure switch, first try tapping it firmly with the handle of a screwdriver while the pump is running. Sometimes the contacts can stick and this may get it working normally again. If not, shut off power and inspect inside the switch housing for burned contacts, frayed wires or loose connections.
Consider Water Level
If the water level drops below the pump intake, it will suck air instead of water and lose prime. Shallow wells are especially susceptible to fluctuations in the water table.
One sign that your well may be running low is if priming problems occur after periods of heavy water use, such as irrigating lawns or filling pools. Shutting off the pump for a few hours will allow the well to recharge. After letting it rest, check the static water level before turning the power back on. If it’s still low, wait longer before trying again. Chronic low water levels may necessitate lowering the pump further down the well or drilling a deeper well.
Inspect the Well Pump
If you’ve exhausted all other troubleshooting avenues and the pump still fails to hold its prime, there may be an issue with the pump itself. Several problems can occur within the pump mechanism that impact priming ability:
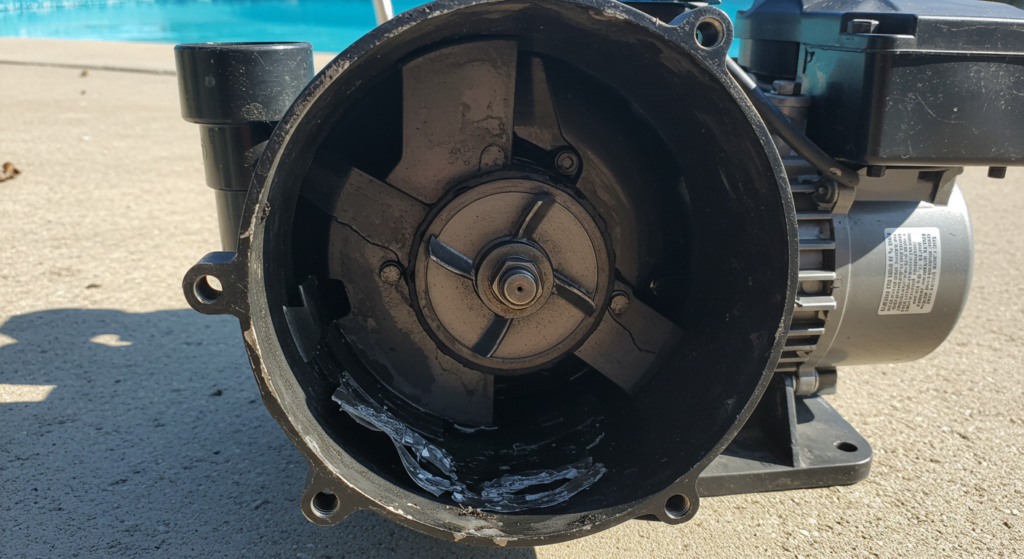
Motor faults: The electric motor powers the pump impellers. If it overheats from constant use, the windings can short out and it won’t turn on. This is more likely to happen with older pumps. A faulty capacitor can also prevent the motor from starting.
Damaged impellers: The impellers are the rotating vanes that push water up the pipe. If they become clogged with sediment or damaged from running dry, the pumping action is compromised. This causes poor water pressure and priming difficulties.
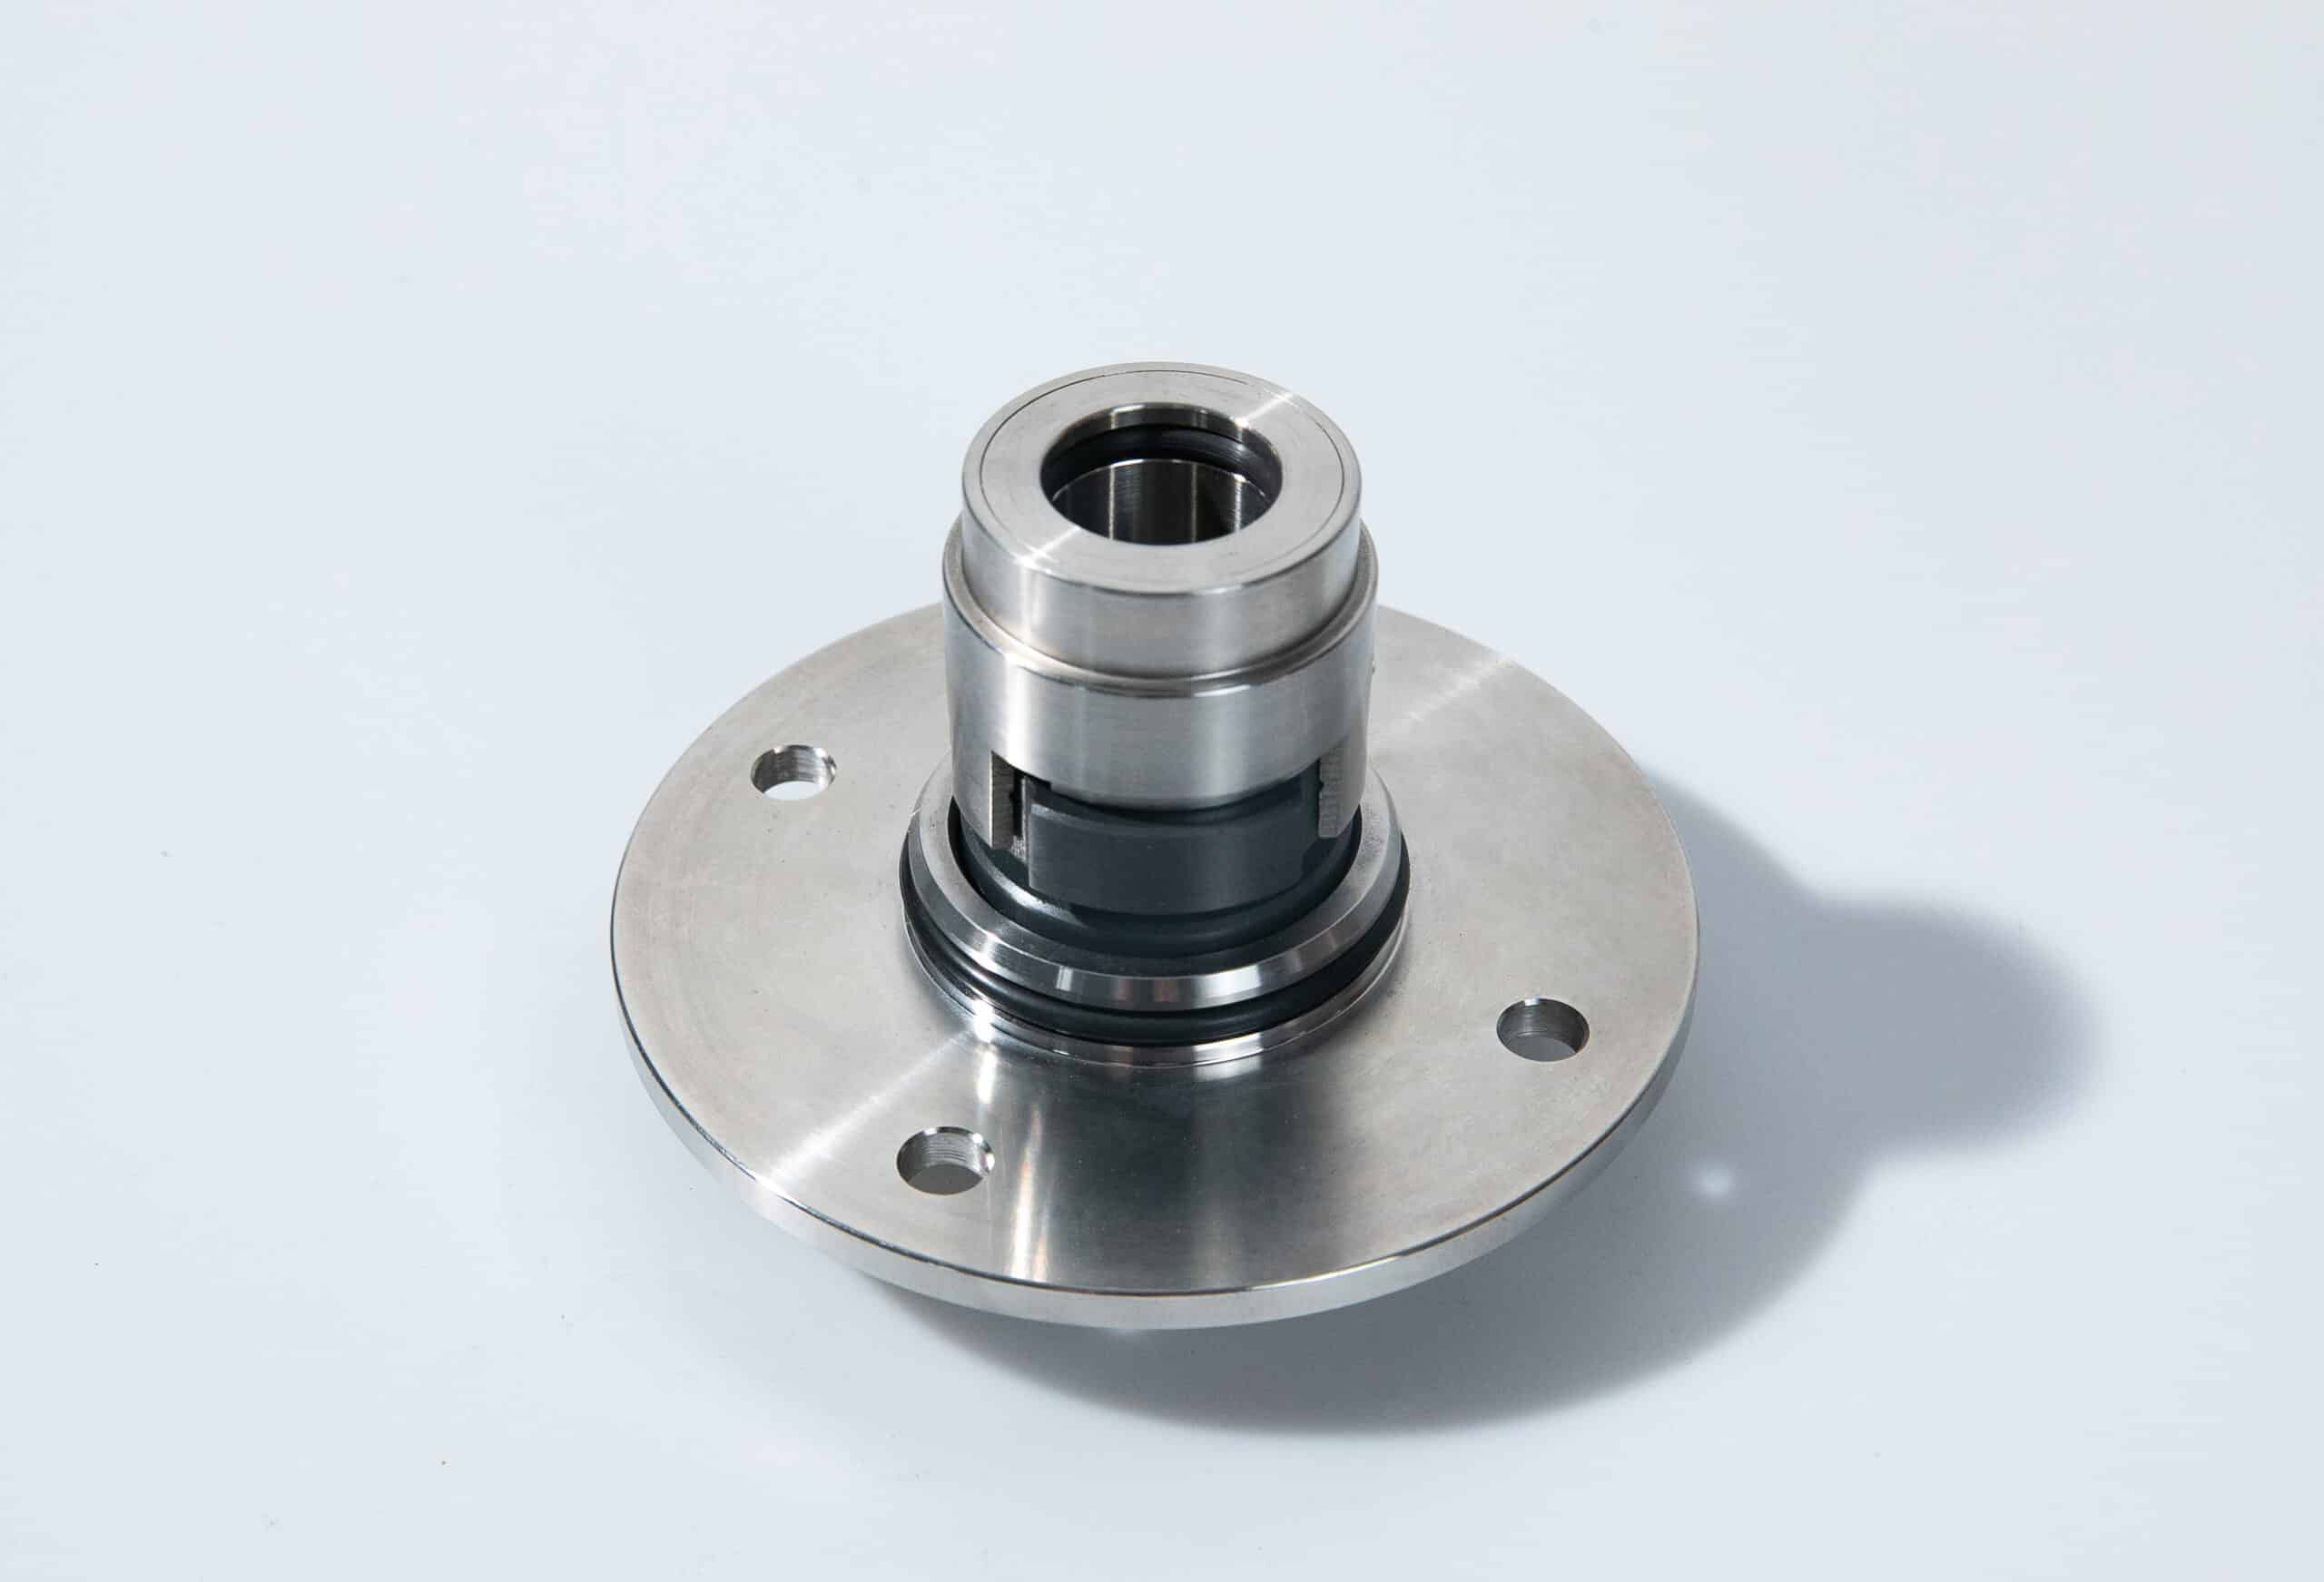
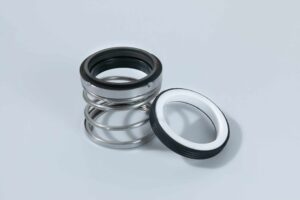
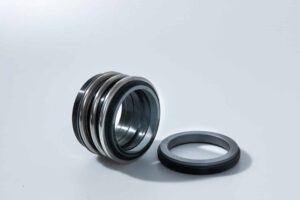
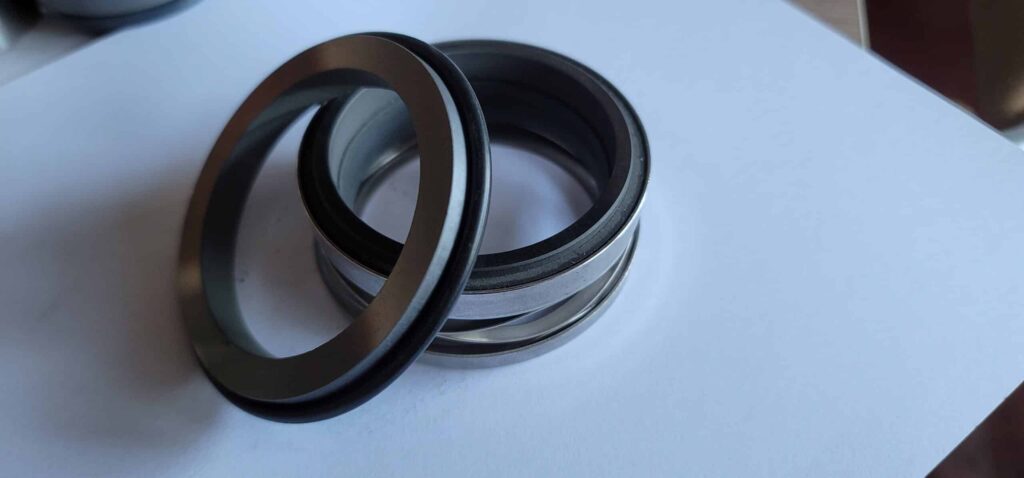
Worn seals: Pumps have seals around the rotating shaft to maintain a watertight housing. If they degrade over time, water can escape and air gets in, breaking the prime. Seal failure often causes water to leak out of the pump casing.