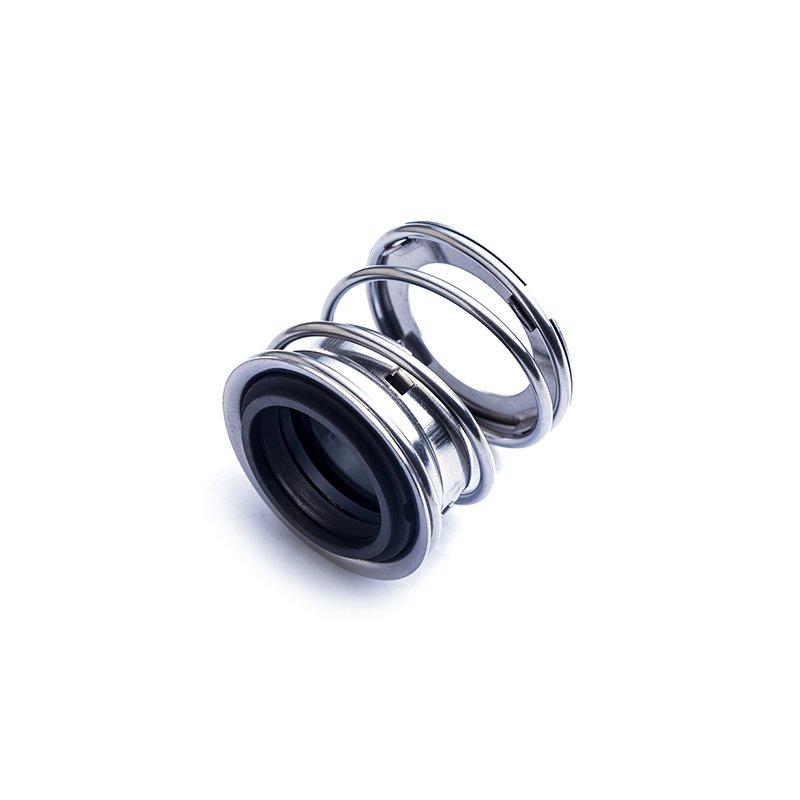
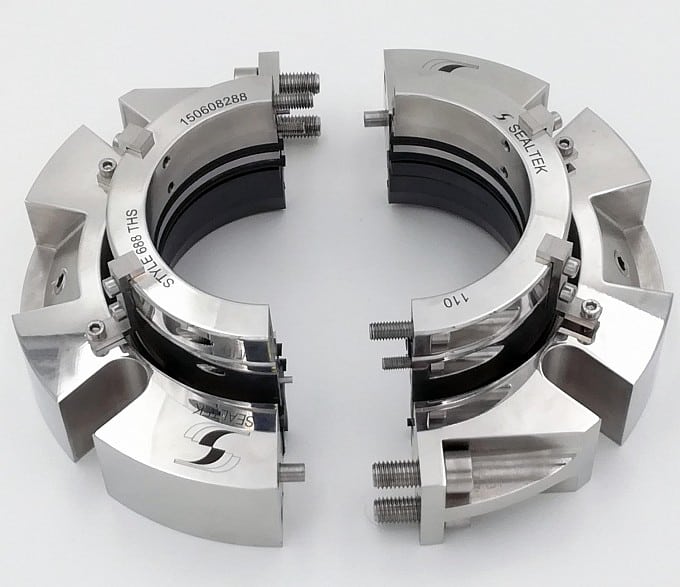
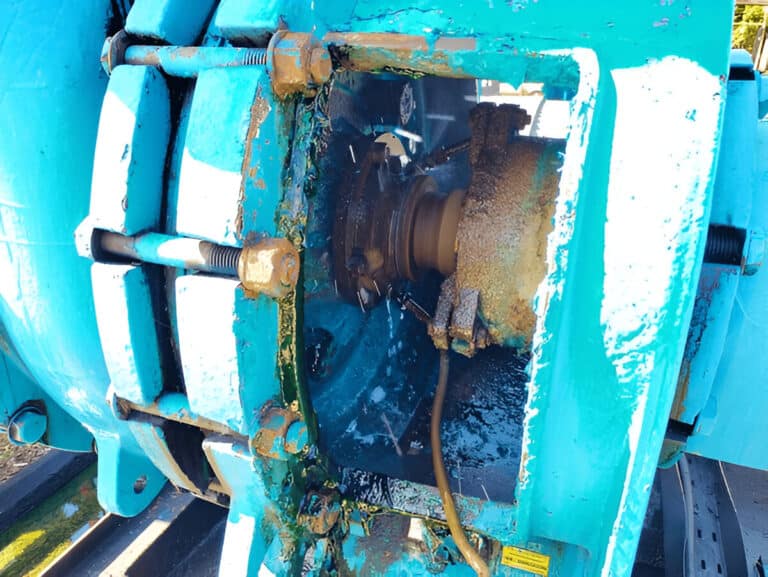
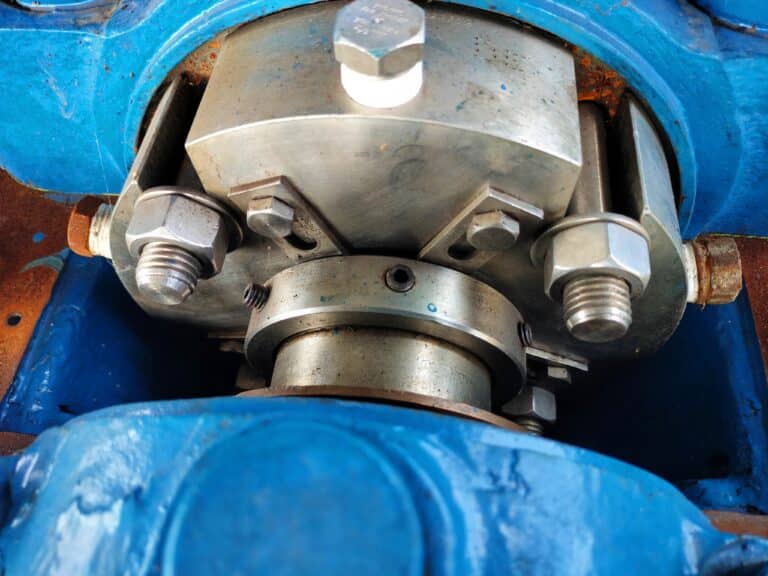
Spring load is the force your mechanical seal’s spring applies to keep the two sealing faces pressed together. This pressure prevents fluid from leaking out of your pump or rotating equipment.
Think of it like a handshake. Too weak, and you can’t hold on. Too strong, and you’ll hurt someone. Your seal spring needs just the right amount of pressure to create a reliable seal without causing damage.
The spring in your mechanical seal has one critical job: maintain constant contact between the rotating face and the stationary face. Even as the shaft spins at thousands of RPM, even as parts wear down over time, and even as temperatures change during operation, the spring keeps those faces together.

What Are the Key Formulas for Calculating Spring Load?
Calculating spring load for mechanical seals involves four main formulas. You’ll use these to determine the correct spring pressure, verify compression, and understand the forces acting on your seal.
Step 1: Understanding Industry Standard Values
The mechanical seal industry uses two critical spring load values that apply to most applications. These are your baseline numbers.
New seal spring load: 30 psi (2 kg/cm²)
This is the spring pressure you should have when you install a fresh seal with unworn faces. At 30 psi, the spring provides enough force to maintain face contact during startup, normal operation, and moderate vibration.
Minimum worn seal load: 10 psi (0.7 kg/cm²)
This is the absolute minimum pressure you need once the seal faces have worn down. Below 10 psi, normal pump vibration can overcome the spring force and open the seal faces, causing leaks.
Step 2: Basic Force Calculation
Formula: Pressure × Area = Force
Or rearranged: Pressure = Force ÷ Area
This formula helps you determine what spring force you need for a given seal face area, or conversely, what pressure you’re actually getting from a known spring force.
Worked Example:
Let’s say you have a mechanical seal with a face area of 2 square inches. You need the standard 30 psi spring load.
Force = 30 psi × 2 in² = 60 pounds
Your spring must provide 60 pounds of force when compressed to the installed length. If manufacturer specs tell you the spring provides 60 lbs at 0.5 inches of compression, you know exactly how much you need to compress it during installation.
Converting between psi and kg/cm²:
Most American manufacturers use psi. European and Asian manufacturers often use kg/cm². You need to convert between them.
- 1 kg/cm² = 14.2 psi
- 1 psi = 0.07 kg/cm²
So that 30 psi standard equals about 2.1 kg/cm² (often rounded to 2 kg/cm² in documentation). The 10 psi minimum equals 0.7 kg/cm².
Quick conversion examples:
- 3 kg/cm² × 14.2 = 42.6 psi
- 85 psi × 0.07 = 5.95 kg/cm²
Step 3: Spring Compression Calculation
This formula tells you how much to compress your spring to achieve the required specific pressure on the seal faces.
Formula: B = A – P/k
Where:
- B = compressed spring length (installed length)
- A = free length of the spring (uncompressed)
- P = required specific pressure on seal faces
- k = spring stiffness or spring rate
The spring rate (k) tells you how many pounds or kilograms of force you get per inch or centimeter of compression. A typical spring might have a rate of 50 lbs/in, meaning each inch you compress it generates 50 additional pounds of force.
Step-by-Step Worked Example:
You’re installing a new seal. The manufacturer specs show:
- Free spring length (A) = 3.0 inches
- Spring rate (k) = 40 lbs/in
- Required specific pressure (P) = 120 lbs total force needed
- (This is based on seal face area and 30 psi target)
Calculate the compression:
P/k = 120 lbs ÷ 40 lbs/in = 3.0 inches of compression needed
But wait, that can’t be right. You’d need to compress the spring to zero length.
Let’s recalculate with realistic numbers. Say you need 60 lbs of force (which is P in this context):
60 lbs ÷ 40 lbs/in = 1.5 inches of compression
B = 3.0 in – 1.5 in = 1.5 inches
Your spring should measure 1.5 inches long when properly installed and compressed.
Typical specific pressure range: Most mechanical seals operate in the range of 3-6 kg/cm² (43-85 psi) of specific pressure on the seal faces. This accounts for both the spring load and hydraulic forces from the sealed fluid.
How to use this in the field: Measure your spring’s free length with calipers. Find the spring rate in the manufacturer’s documentation. Calculate what the installed length should be. Then verify your installation matches that target.
Step 4: Balance Ratio Calculation (Advanced)
The balance ratio calculation determines how much of your seal face area is exposed to the hydraulic pressure of the sealed fluid. This is an advanced topic, but it’s important for understanding why some seals need different spring loads than others.
Formula: B = (Do² – Db²) / (Do² – Di²)
Where:
- B = balance ratio (dimensionless number)
- Do = seal face outside diameter
- Di = seal face inside diameter
- Db = balance diameter (the effective diameter where hydraulic pressure acts)
When you need this calculation: Most technicians won’t calculate balance ratios in the field. Seal engineers determine this during design. However, understanding balance ratios helps you recognize different seal types and their requirements.
Typical balance ratios:
- Balanced seals: 0.65 to 0.85
- Standard balanced seal: 0.75 for water and non-flashing hydrocarbons
- Flashing hydrocarbons: 0.80 to 0.85
- Unbalanced seals: greater than 1.0 (typically 1.25 to 1.35)
Simple example for context:
You have a seal with:
- Outside diameter (Do) = 3.0 inches
- Inside diameter (Di) = 2.0 inches
- Balance diameter (Db) = 2.7 inches
B = (3.0² – 2.7²) / (3.0² – 2.0²)
B = (9.0 – 7.29) / (9.0 – 4.0)
B = 1.71 / 5.0
B = 0.342
Wait, that’s too low. Let me recalculate with realistic dimensions.
Actually, let’s use this example:
- Do = 3.0 inches
- Di = 2.0 inches
- Db = 2.5 inches
B = (3.0² – 2.5²) / (3.0² – 2.0²)
B = (9.0 – 6.25) / (9.0 – 4.0)
B = 2.75 / 5.0
B = 0.55
This is still below the typical range. A proper balanced seal would have a Db closer to 2.6-2.7 inches to achieve the 0.75 standard balance ratio.
Why balance ratio matters for spring load: A balanced seal (ratio 0.75) needs less spring force than an unbalanced seal because hydraulic pressure helps keep the faces together. An unbalanced seal relies more heavily on spring force to overcome the hydraulic forces trying to open the faces.
If you’re replacing a balanced seal with an unbalanced design (or vice versa), you can’t assume the same spring load will work. Check the manufacturer’s specifications carefully.
How Do You Measure Spring Load in the Field?
Measuring spring load in the field involves three main steps: determining spring rate if it’s unknown, checking actual spring compression, and verifying you’re within the acceptable pressure range.
Step 1: Measuring Spring Rate (if not known)
Spring rate tells you how much force you get per unit of compression. If you don’t have manufacturer specs, you can measure it yourself.
Formula: R = (P2 – P1) / (L1 – L2)
Where:
- R = spring rate
- P1 = force at first measurement
- L1 = spring length at first measurement
- P2 = force at second measurement
- L2 = spring length at second measurement
The 20%-80% deflection method: This is the industry standard approach for measuring spring rate accurately.
First, measure the spring’s free length (fully extended, no compression). Let’s say it’s 3.0 inches.
Next, compress the spring to 20% of its available deflection. If the spring can compress 2 inches total, 20% means 0.4 inches of compression. The spring now measures 2.6 inches long.
Measure the force required to hold it at this compression using a force gauge or scale. Let’s say it takes 16 pounds.
- P1 = 16 lbs
- L1 = 2.6 inches
Now compress the spring further to 80% deflection. That’s 1.6 inches of compression, so the spring now measures 1.4 inches long.
Measure the force again. Let’s say it takes 64 pounds.
- P2 = 64 lbs
- L2 = 1.4 inches
Calculate spring rate:
R = (64 lbs – 16 lbs) / (2.6 in – 1.4 in)
R = 48 lbs / 1.2 in
R = 40 lbs/in
Your spring has a rate of 40 pounds per inch.
Equipment needed:
- Calipers or micrometer for length measurement
- Force gauge or scale that can measure in pounds or kilograms
- Vise or press to compress the spring in controlled increments
Most maintenance shops don’t have precision force gauges. If you can’t measure force directly, you’ll need to rely on manufacturer specifications for spring rate.
Step 2: Checking Spring Compression
This is the measurement you’ll do most often. It tells you whether a seal is installed correctly or has worn to the point of needing replacement.
Using calipers or micrometers: Measure the spring length when it’s installed in the seal. Compare this to the free length and the specified installed length from manufacturer documentation.
Comparing free length vs. installed length: Remove the spring from a spare seal or measure it before installation. Let’s say free length is 3.0 inches.
After installation, measure the spring through the seal housing if possible, or disassemble enough to access it. Let’s say it now measures 1.8 inches.
Compression = 3.0 in – 1.8 in = 1.2 inches of compression
Calculating actual spring load from compression: Now use your spring rate to determine force.
If spring rate is 40 lbs/in and compression is 1.2 inches:
Force = 40 lbs/in × 1.2 in = 48 lbs
If your seal face area is 2 square inches:
Pressure = 48 lbs ÷ 2 in² = 24 psi
You’re getting 24 psi of spring load, which is below the 30 psi target for a new seal but still well above the 10 psi minimum. This seal is partially worn but still functional.
Field tip: Many cartridge seals have a visible spring. You can often measure the installed spring length without full disassembly by looking through drain ports or gaps in the housing. Use a thin probe or wire alongside a ruler for rough measurements.
Step 3: Verifying Specific Pressure Range
Once you’ve calculated your spring load, verify it falls within acceptable limits for your application.
Target range: 3-6 kg/cm² (43-85 psi)
This is the total specific pressure on the seal faces, including both spring force and hydraulic force from the sealed fluid. For spring load alone, you’re looking for the 30 psi new / 10 psi minimum worn values discussed earlier.
How to adjust using shims or spacers: Some component seals (not cartridge seals) allow you to adjust spring compression using shims or adjustment spacers.
To increase spring load, add shim thickness between the spring seat and spring. This compresses the spring more. To decrease load, remove shim thickness.
Example: Your calculation shows 20 psi but you want 30 psi. You need 10 more psi, which is 10 psi × 2 in² = 20 lbs more force.
With a 40 lb/in spring rate: 20 lbs ÷ 40 lb/in = 0.5 inches more compression needed.
Add a 0.5-inch shim (or combination of shims totaling 0.5 inches).
Critical warning – When NOT to adjust: Never adjust spring compression on cartridge mechanical seals in the field.
Cartridge seals come pre-assembled and pre-adjusted from the factory. The manufacturer has set the exact spring compression needed for optimal performance. The entire assembly is designed to slide onto your shaft and bolt up with zero field adjustments.
When shimming is appropriate: Only adjust spring compression on component seals where the manufacturer provides adjustment procedures. Always follow their specific instructions for shim placement and compression limits.
FAQ: Common Questions About Mechanical Seal Spring Load
Do I need different spring loads for different fluids?
Yes, you typically need higher spring loads for low-viscosity fluids that can escape through smaller gaps, and for applications with flashing or vaporizing fluids that create dynamic pressure variations; conversely, you might use lower spring loads for high-viscosity fluids that naturally resist flow.
How often should spring load be checked?
Check spring load during initial installation to verify correct compression, and then during routine seal inspections every 6-12 months or whenever you notice changes in seal performance like increased leakage or unusual noise.
Can I calculate spring load without manufacturer specs?
You can measure spring rate yourself using the 20%-80% deflection method with a force gauge, but you’ll still need to know the target spring compression or seal face dimensions to calculate the correct installed load; without any specs, you risk incorrect installation.


