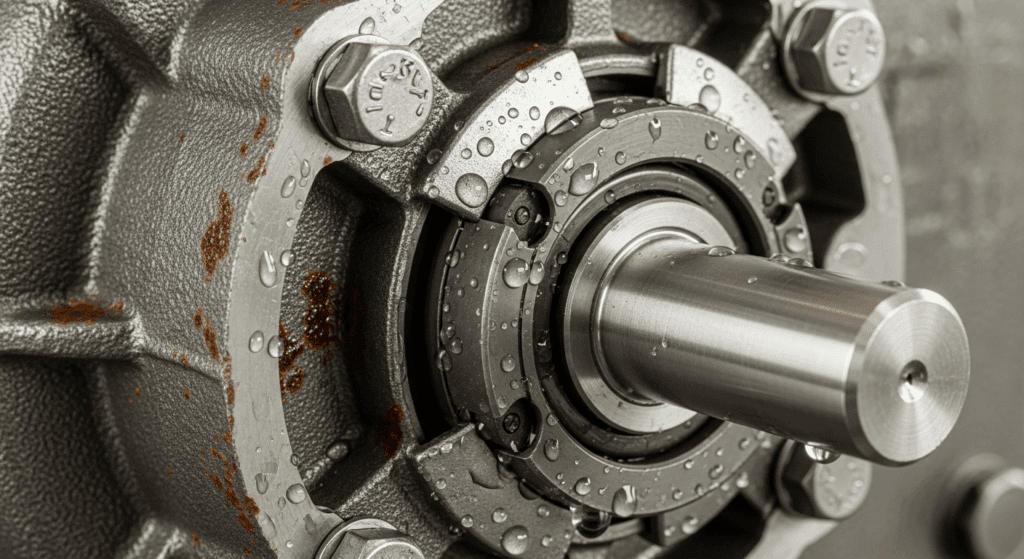
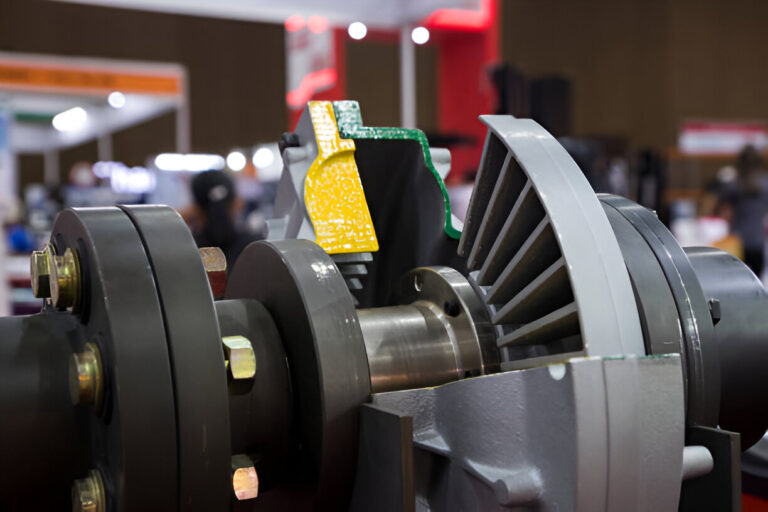
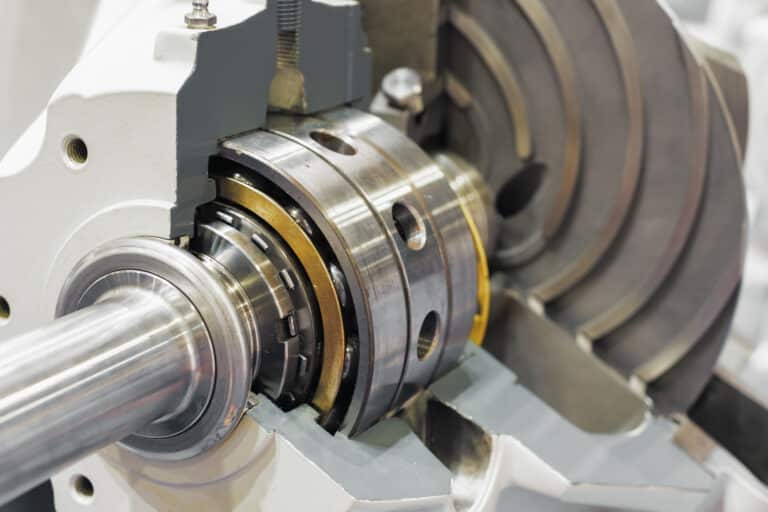
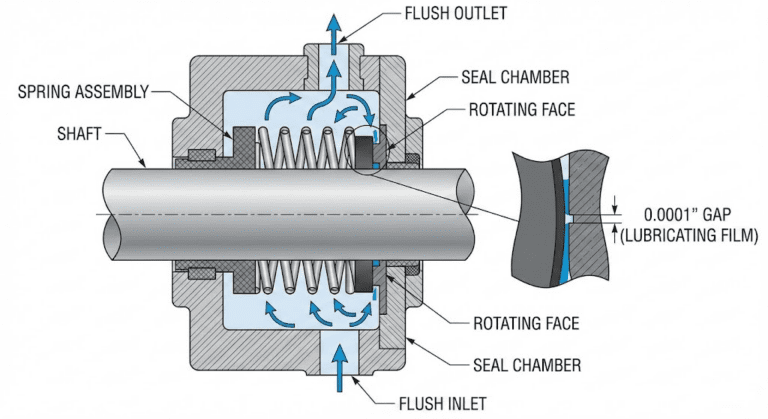
Water pump mechanical seals are the unsung heroes that keep your pump from leaking everywhere. Think of them like the rubber gasket in a mason jar lid – they create a watertight barrier between the spinning shaft and the pump housing, preventing water from escaping where it shouldn’t.
When your pump starts dripping water from around the shaft, it’s time to replace that seal. You’ll save hundreds of dollars doing this yourself instead of buying a whole new pump.

What You’ll Need Before Starting
Gather these tools and materials first to avoid frustrating trips to the hardware store mid-repair:
- New mechanical seal kit (specific to your pump model)
- Basic hand tools (wrenches, screwdrivers, pliers)
- Penetrating oil like WD-40
- Clean rags and a small container for parts
- Your phone to take photos during disassembly
Step 1: Turn Off Power and Drain the System
Disconnect the pump from its power source completely – unplug it or turn off the circuit breaker. This isn’t just about avoiding shock; a pump that suddenly starts while you’re working on it can cause serious injury.
Open the drain valves to remove all water from the pump and connected pipes. Water left in the system will pour out when you open the pump housing, creating a mess and making the job harder.
Give the system 10-15 minutes to fully drain. Use this time to spread out your tools and take a photo of how everything looks before you start.
Step 2: Remove the Pump from Its Mounting
Loosen the mounting bolts that secure the pump to its base or bracket. These bolts are often corroded, so spray them with penetrating oil and let it soak for a few minutes if they’re stuck.
Disconnect the inlet and outlet pipes carefully. Have a bucket ready to catch any remaining water that didn’t drain out.
Pull the pump free and move it to a clean, well-lit workspace. Working on a bench is much easier than crouching on the floor.
Step 3: Disassemble the Pump Housing
Remove the bolts holding the pump housing together – typically 4-8 bolts around the perimeter. Take a photo before removing anything so you’ll remember how it goes back together.
Gently tap the housing with a rubber mallet if it’s stuck. Never use a metal hammer directly on the housing as you’ll crack or damage it.
Pull the housing apart to expose the impeller and shaft. The old mechanical seal will be visible where the shaft enters the pump body.
Step 4: Remove the Impeller
The impeller usually screws onto the shaft or is held by a small bolt. Turn it counterclockwise to remove it (some pumps have reverse threads, so check your manual).
Hold the shaft steady with one wrench while loosening the impeller with another. This prevents damage to the shaft that could ruin your new seal.
Set the impeller aside in your parts container. Inspect it for damage or excessive wear while you have it out.
Step 5: Extract the Old Mechanical Seal
The mechanical seal consists of two main parts: a rotating portion on the shaft and a stationary portion in the pump housing. Both need to come out.
Slide the rotating portion off the shaft carefully. It might be held by a small set screw or spring clips that need to be removed first.
Pop out the stationary portion from the housing using a flathead screwdriver. Work your way around the seal gently to avoid scratching the housing’s sealing surface.
Step 6: Clean All Sealing Surfaces
Use fine sandpaper (400-grit or higher) to clean the shaft where the new seal will sit. Any corrosion or buildup here will cause the new seal to leak immediately.
Wipe the pump housing’s seal cavity with a clean rag. Remove all debris, old gasket material, and corrosion.
The surfaces should be smooth and shiny when you’re done. Even small imperfections can cause leaks.
Step 7: Install the New Mechanical Seal
Start with the stationary portion in the pump housing. Press it in evenly using your thumbs or a piece of wood – never hammer directly on the seal.
Apply a thin film of clean water or dish soap to the shaft. This helps the rotating portion slide on without tearing the rubber components.
Slide the rotating portion onto the shaft to the correct position. Most seals have a mark or measurement in the instructions showing exactly where it should sit.
Step 8: Reassemble the Pump
Thread the impeller back onto the shaft, tightening it to the manufacturer’s specifications. Too tight and you’ll crack it; too loose and it’ll work itself off.
Carefully bring the pump housing halves back together. The seal faces will make contact – this is normal and necessary for proper operation.
Install and tighten the housing bolts in a star pattern. This ensures even pressure and prevents warping that could cause leaks.
Step 9: Reinstall and Test the Pump
Mount the pump back in its original position. Connect all pipes, ensuring you’ve replaced any gaskets or O-rings that looked worn.
Tighten the mounting bolts evenly. A pump that vibrates because it’s mounted poorly will destroy your new seal quickly.
Fill the system with water and restore power. Run the pump for several minutes while checking for leaks around the shaft area.
Troubleshooting Common Issues
If you see drops forming around the shaft immediately, you likely have dirt on the seal faces. Disassemble and clean everything again – even a single grain of sand can cause leaks.
A seal that leaks after a few minutes of running usually means incorrect installation depth. Check that the rotating portion is positioned correctly on the shaft.
Excessive vibration or noise indicates either air in the system or misalignment. Bleed all air from the pump and check that everything is properly tightened.
FAQs
How long should a mechanical seal last?
A properly installed mechanical seal typically lasts 2-5 years depending on usage, water quality, and pump maintenance. Pumps running continuously or handling dirty water will need seal replacement more frequently.
Can I reuse the old mechanical seal after cleaning it?
No, you should always install a new seal. Once the precision-machined faces wear or the rubber components take a set, they won’t seal properly even after cleaning.
What causes mechanical seals to fail prematurely?
Running the pump dry, excessive vibration from poor mounting, abrasive particles in the water, and incorrect installation are the main culprits. Chemical incompatibility with pool chemicals can also deteriorate seals quickly.
Do I need special tools to replace a mechanical seal?
Most residential pump seals can be replaced with basic hand tools. Some larger industrial pumps might require a seal puller or press, but these are rarely needed for typical home water pumps.
How do I know what replacement seal to buy?
Check your pump’s model number and search for the corresponding seal kit. When in doubt, bring the old seal to a pump supply store – they can match it based on dimensions and design.
Is it normal for a new seal to drip slightly at first?
A few drops during the first minute of operation can be normal as the seal faces seat themselves. However, any continuous dripping means something’s wrong and needs immediate attention.


