A broken bolt can cause a water pump to leak, leading to costly damage and downtime. Many mechanics struggle with the tricky task of extracting the broken bolt and properly sealing the pump.
Improper extraction or sealing can result in recurring leaks, wasted time, and frustrated customers. You need a reliable method to get your machinery back up and running quickly.
In this blog post, we’ll walk you through a step-by-step process to expertly seal a water pump with a broken bolt.

Step 1: Extracting the Broken Bolt
- Drill a Pilot Hole: Begin by drilling a small pilot hole into the center of the broken bolt using a drill bit slightly smaller than the bolt’s diameter.
- Use an Extractor Bit: Select an extractor bit that matches the size of the broken bolt. Place the extractor bit into the pilot hole and tap it gently with a hammer to seat it firmly.
- Extract the Bolt: Using a wrench or socket, turn the extractor bit counterclockwise to grip and remove the broken bolt. Apply steady pressure while turning to prevent the extractor bit from slipping.
- Clean the Threads: After removing the broken bolt, use a thread tap or die to clean and restore the threads in the bolt hole.
- Use Vice Grips: If the extractor bit fails to remove the broken bolt, try using vice grips. Grasp the exposed portion of the bolt firmly with the vice grips and turn counterclockwise to remove the bolt.
Step 2: Welding
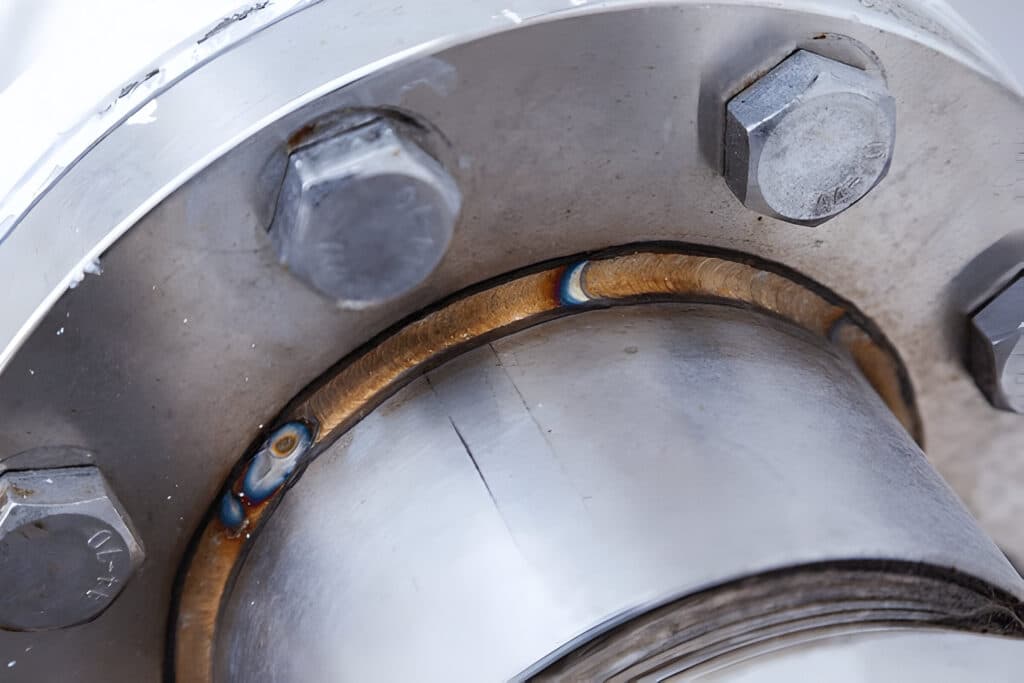
If the broken bolt cannot be extracted using the methods in Step 1, welding a nut onto the broken bolt can provide additional grip for removal. Here’s how to do it:
- Drill the Bolt: Using a drill bit slightly larger than the bolt’s diameter, drill into the center of the broken bolt to create a flat surface for welding.
- Attach a Nut: Select a nut that fits over the broken bolt and aligns it with the drilled hole. Ensure that the nut is centered on the bolt.
- Weld the Nut: Using a welding machine, carefully weld the nut onto the broken bolt. Apply enough weld to secure the nut firmly in place, but avoid excessive welding that could damage the water pump housing.
- Extract the Bolt: Once the weld has cooled, use a wrench or socket to turn the nut counterclockwise and extract the broken bolt.
Step 3: Clean the Surfaces
Use a wire brush, sandpaper, or a scraper to remove any debris, corrosion, or old gasket material from both surfaces. Ensure that the surfaces are clean, smooth, and free of any contaminants that could prevent a proper seal.
Step 4: Apply Sealant
Before installing the water pump, apply a suitable sealant to ensure a watertight seal. There are two common methods for sealing a water pump:
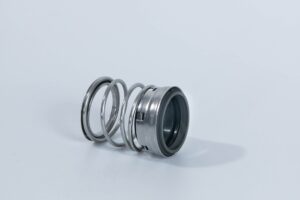
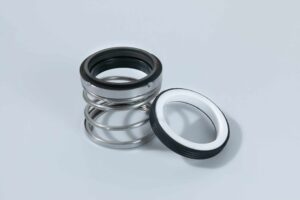
- With a Gasket: If the water pump includes a gasket, place the gasket onto the mating surface of the pump or the engine block. Ensure that the gasket is positioned correctly and that it does not obstruct any bolt holes.
- Without a Gasket: If the water pump does not use a gasket, apply a continuous bead of RTV (Room Temperature Vulcanizing) silicone sealant to the mating surface of the pump or the engine block. Follow the manufacturer’s instructions for the sealant application and curing time.
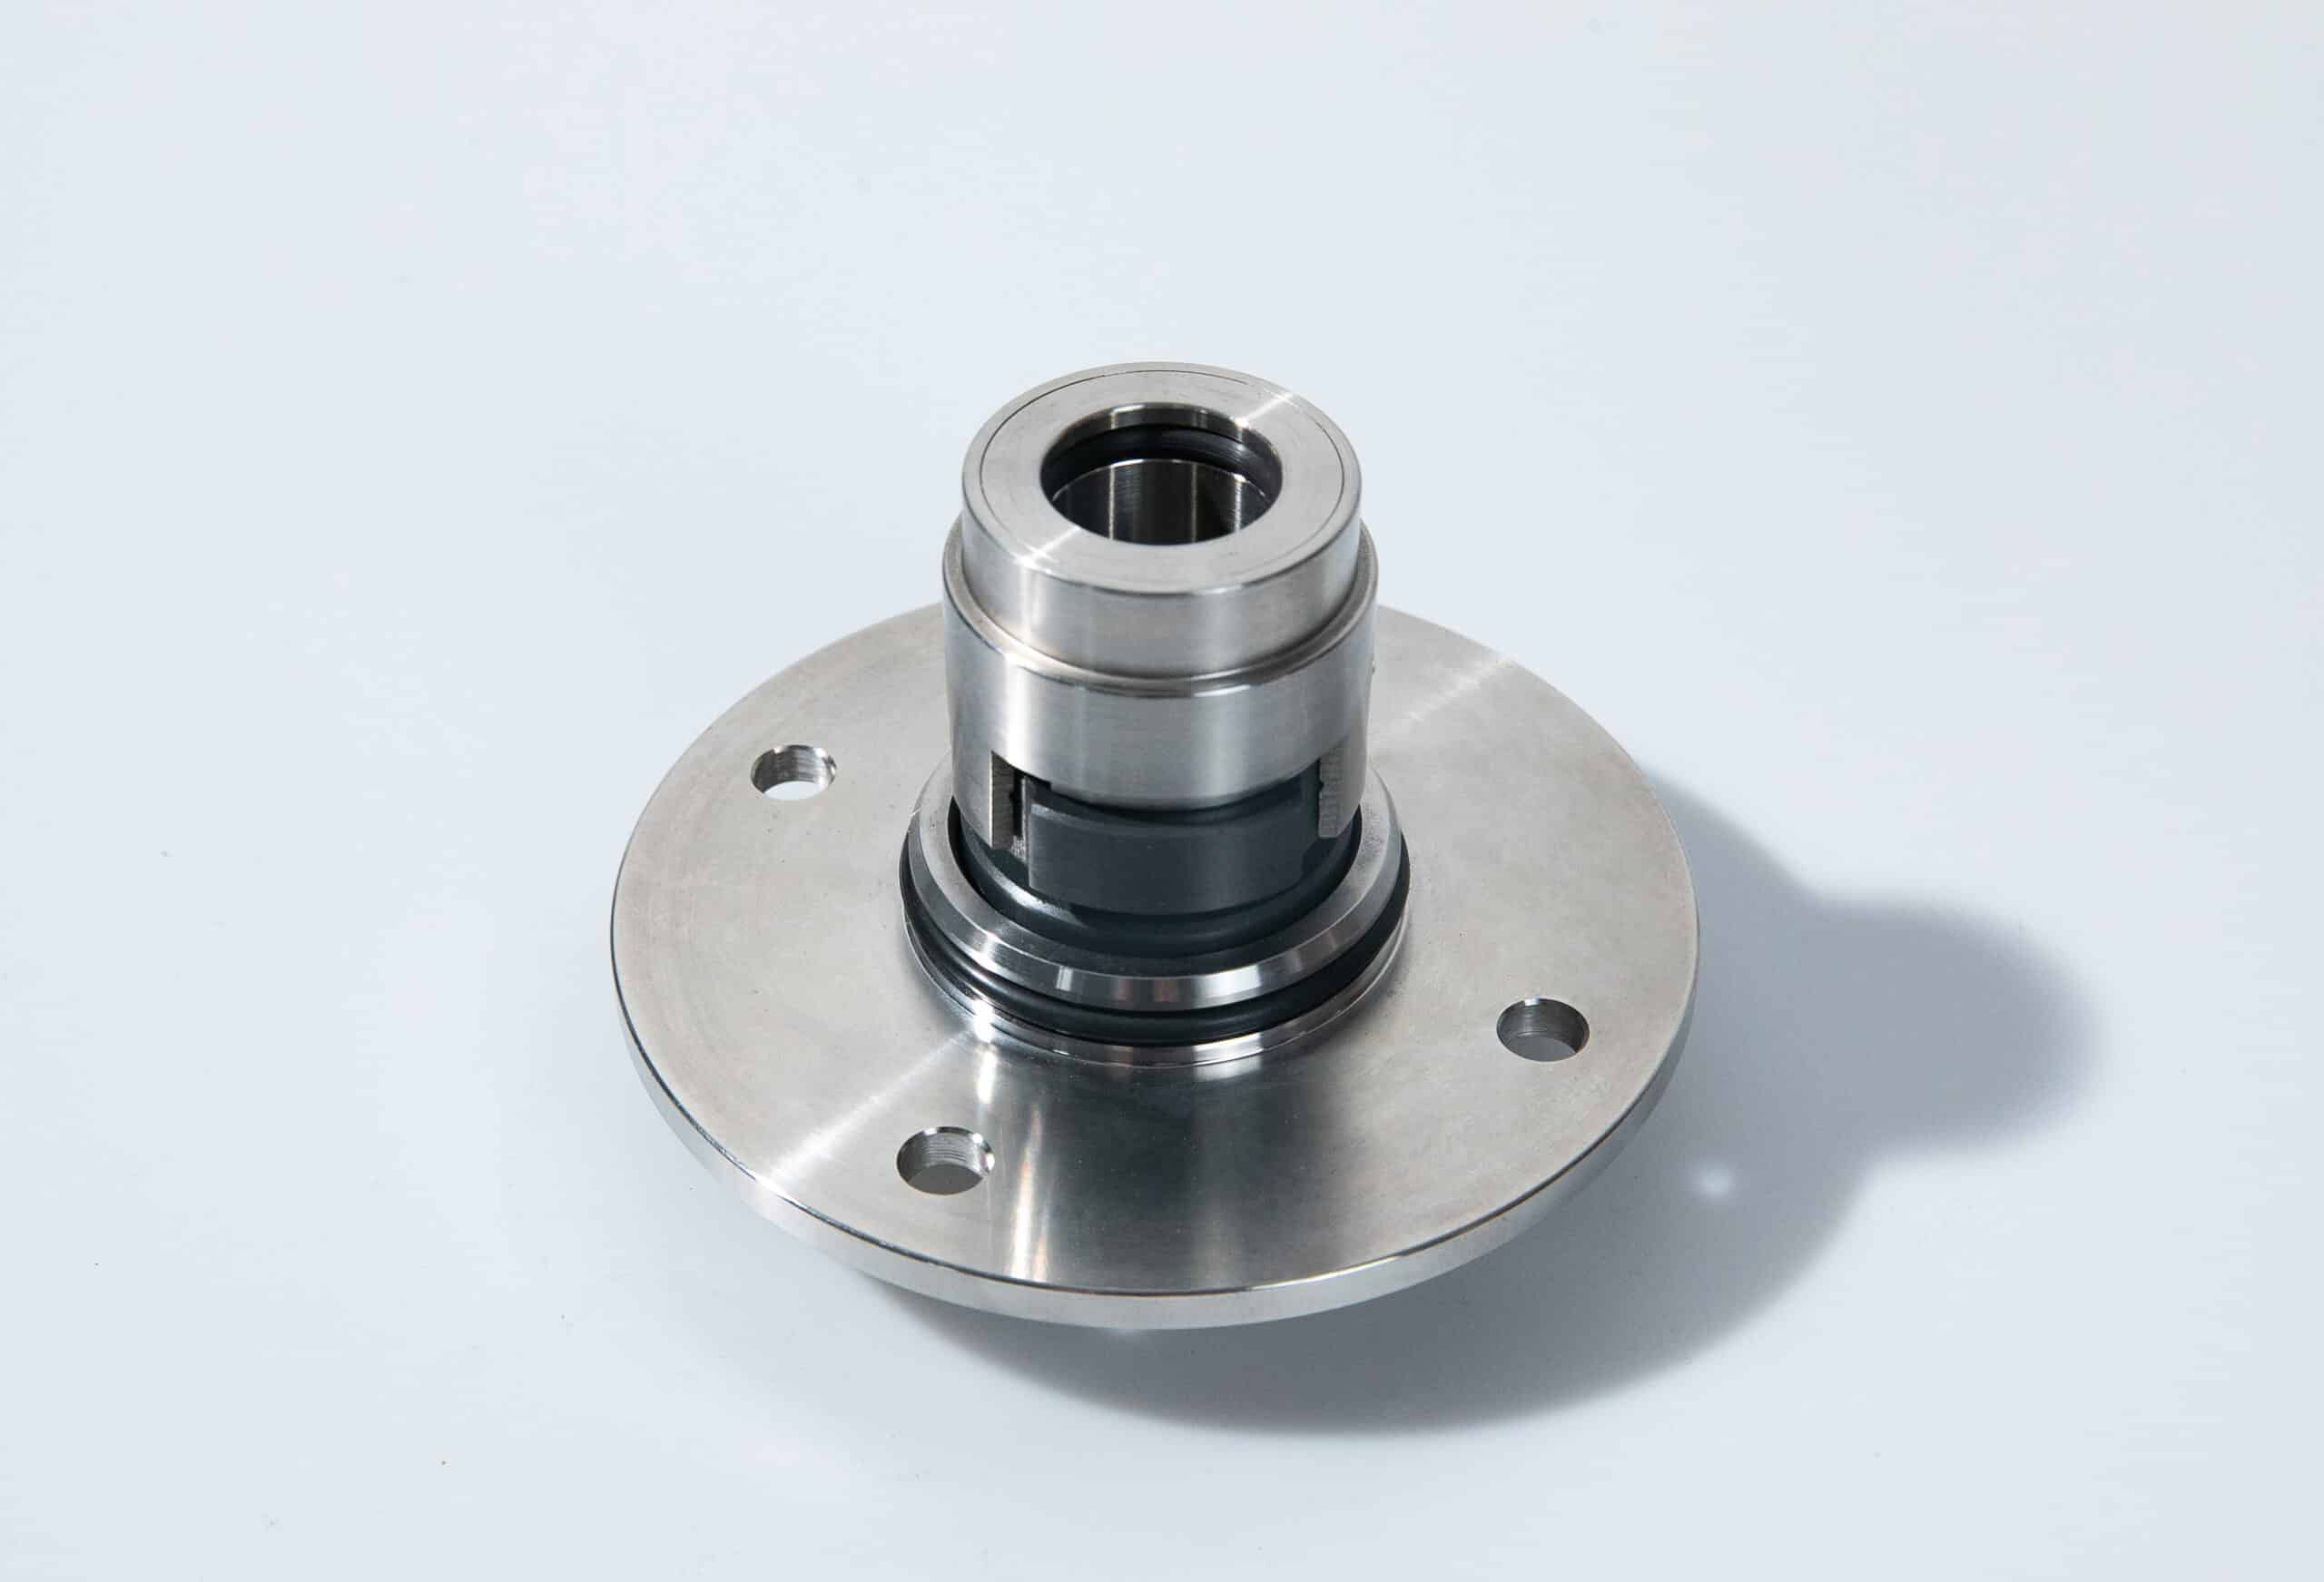
Step 5: Install the Water Pump
With the mating surfaces cleaned and the sealant applied, carefully position the water pump onto the engine block. Ensure that the pump is aligned correctly and that the bolt holes line up. Insert the bolts and tighten them in a star pattern, alternating between opposite corners to ensure even pressure distribution. Torque the bolts to the manufacturer’s specified value using a torque wrench.
Step 6: Consider a Thread Sealer
To prevent future bolt seizures and leaks, consider applying a thread sealer to the water pump bolts before installation. Thread sealers, such as Teflon tape or liquid thread locker, help to lubricate the threads, prevent corrosion, and create a tighter seal. Follow the product instructions for proper application.
Step 7: Let it Cure
After installing the water pump and tightening the bolts, allow the sealant to cure according to the manufacturer’s recommended time. Curing times may vary depending on the type of sealant used and the ambient temperature. Refrain from starting the engine or subjecting the water pump to pressure until the sealant has fully cured to ensure a proper seal.