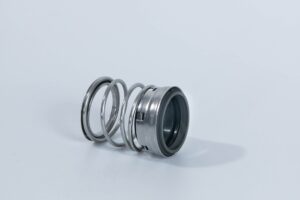
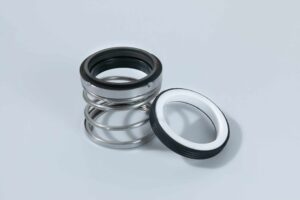
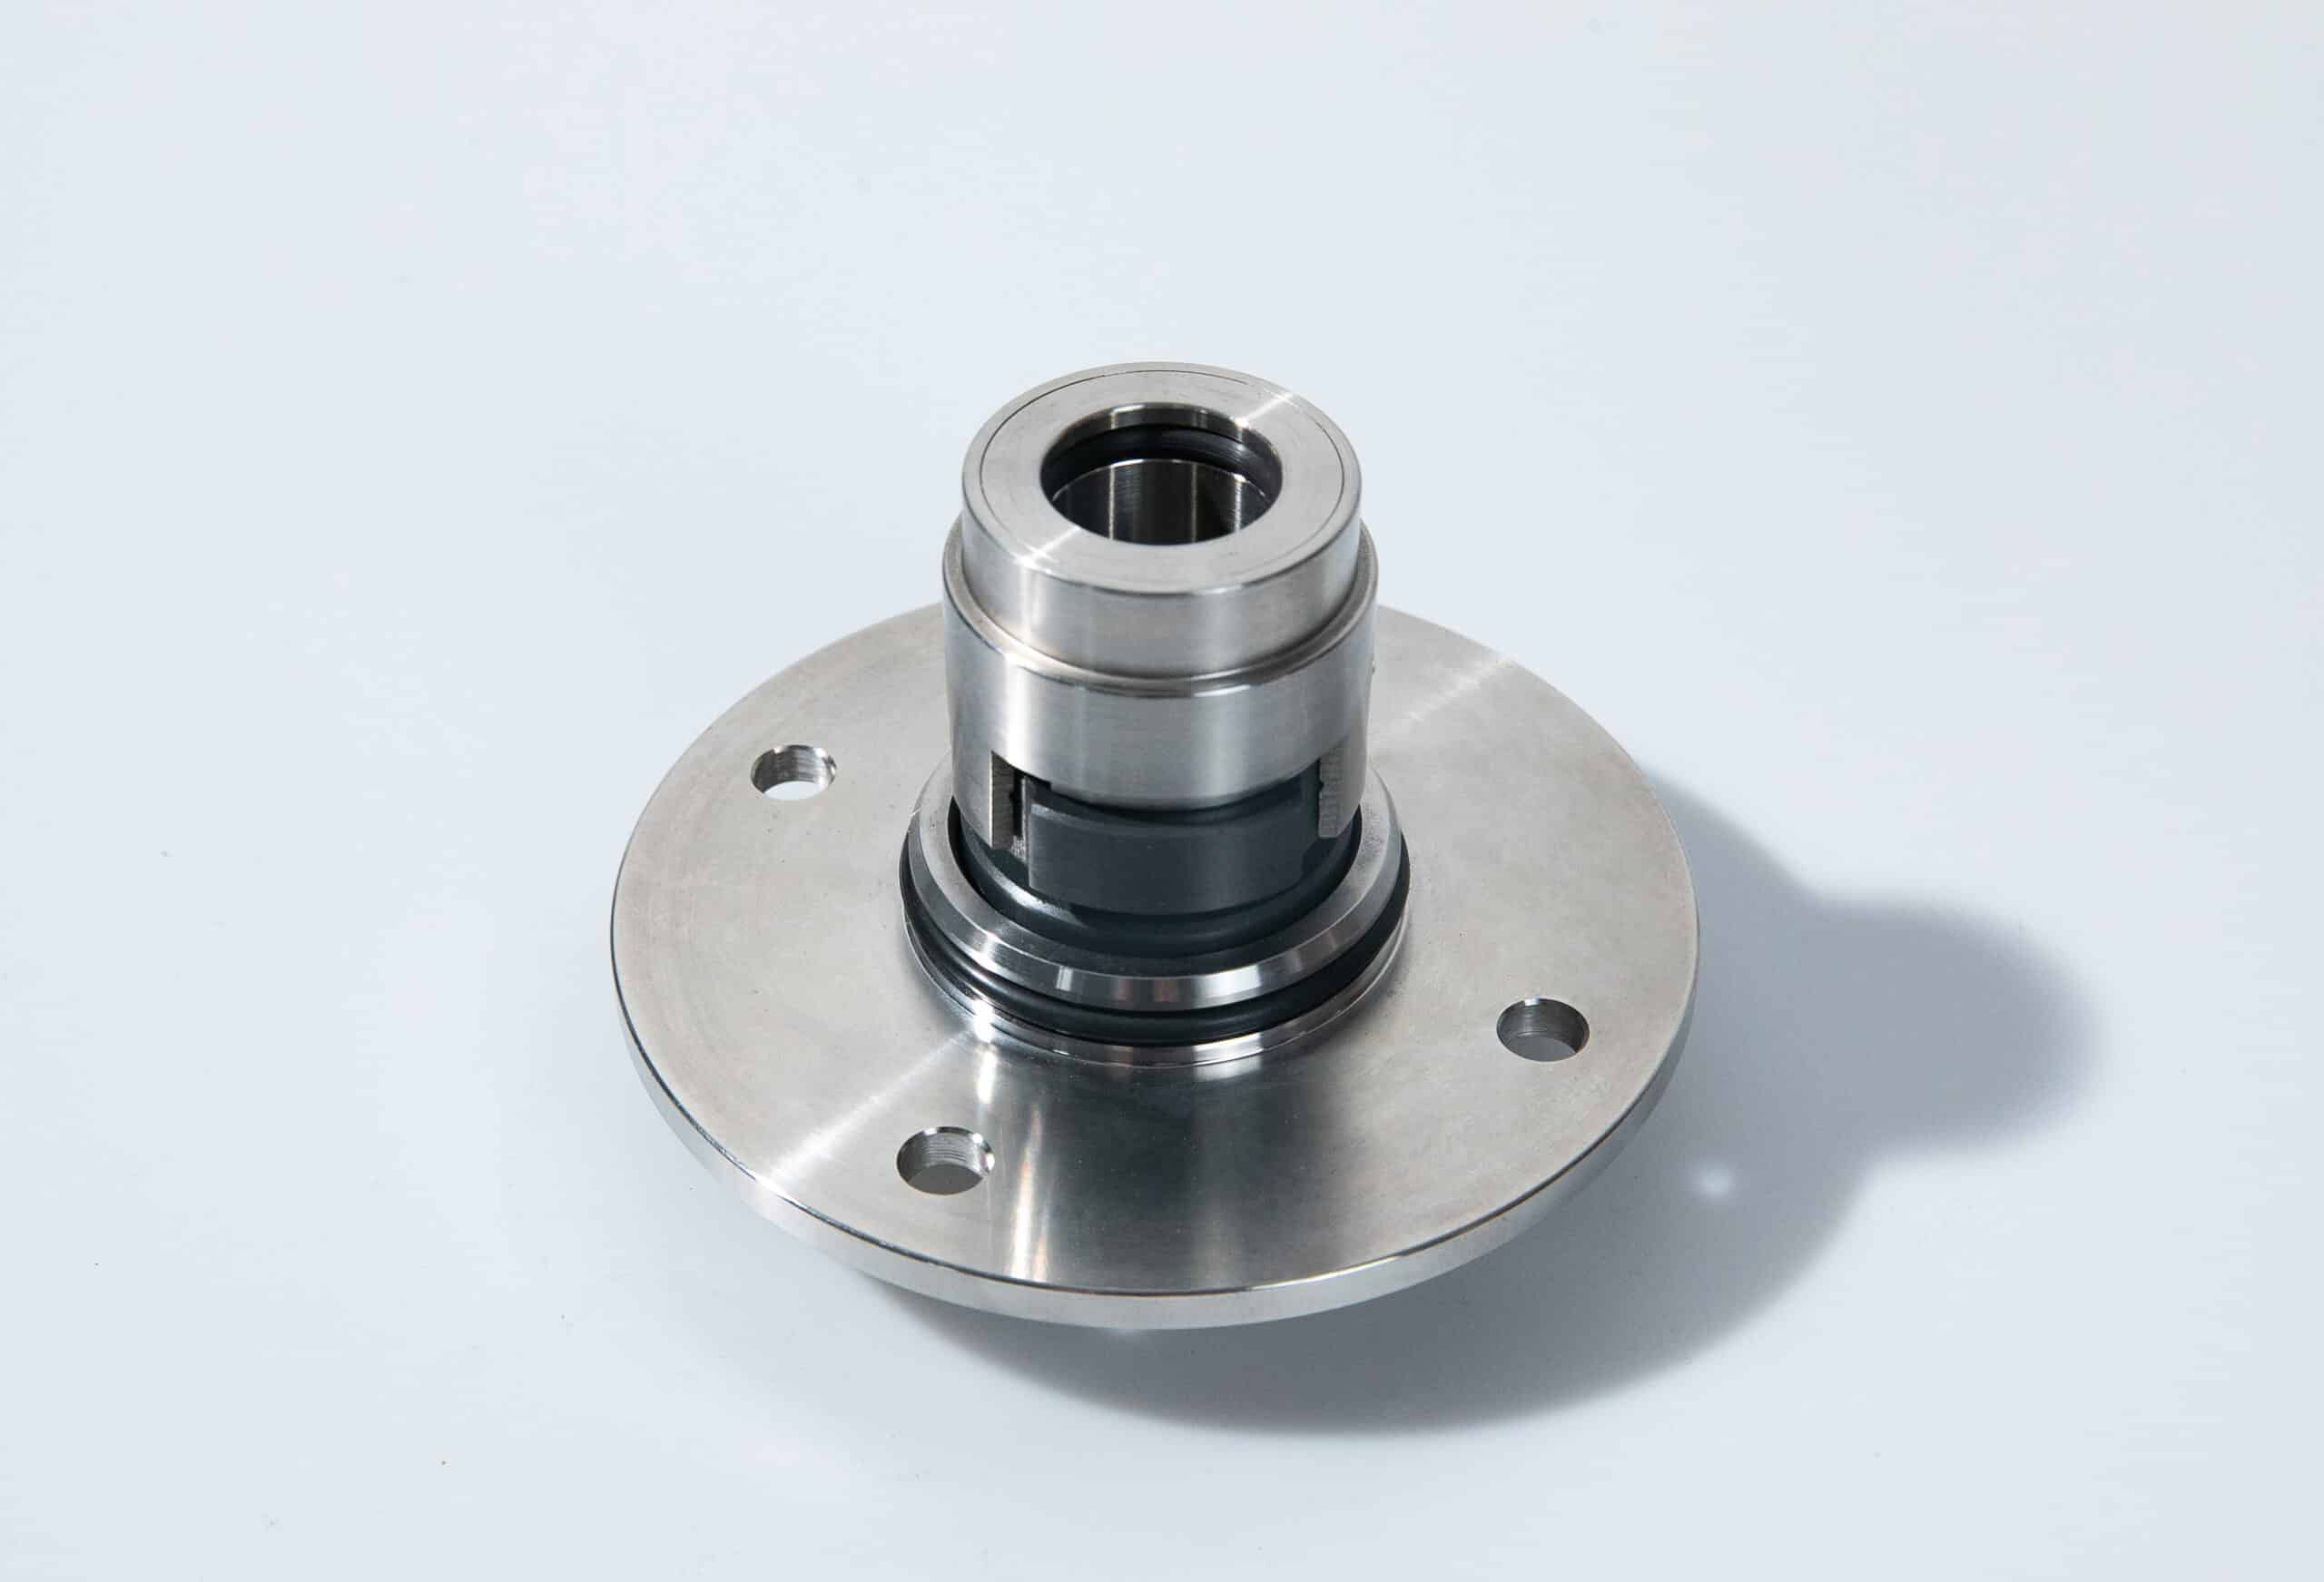
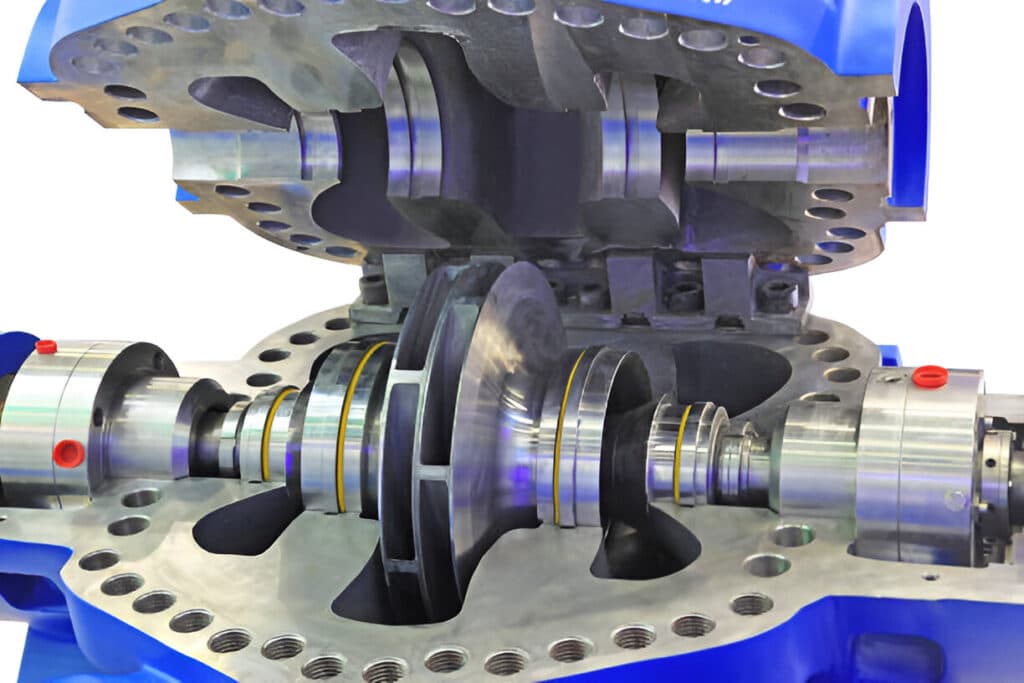
In general, mechanical seals are precision components with very tight tolerances between the seal faces. Attempting to clean the seal faces can potentially damage the lapped surfaces, leading to increased leakage or premature failure. Additionally, disassembling the seal to clean it can be challenging and should only be done by experienced professionals.
However, in some cases, light cleaning of a mechanical seal may be possible without disassembly. This typically involves flushing the seal cavity with a clean, compatible fluid to remove any loose debris or contaminants.
If a mechanical seal is heavily contaminated or damaged, cleaning is unlikely to restore it to proper working condition. In these cases, it’s usually best to replace the seal with a new one to ensure reliable, leak-free operation.
Before attempting to clean a mechanical seal, it’s essential to consult the manufacturer’s guidelines and safety precautions. Some seals may be more delicate or require specific cleaning methods to avoid damage. In general, the cleaning process involves disassembling the seal, carefully removing any debris or contaminants, and reassembling the components.
To clean a mechanical seal, follow these steps:
- Ensure the system is properly shut down and all safety protocols are followed.
- Disassemble the seal according to the manufacturer’s instructions, taking care not to damage any components.
- Use a soft-bristled brush or clean cloth to gently remove any debris or buildup from the seal faces and other components.
- If necessary, use a mild cleaning solution recommended by the manufacturer to help dissolve stubborn contaminants.
- Rinse the components thoroughly with clean water and dry them completely.
- Inspect the seal faces and other components for any signs of damage, such as scratches, cracks, or excessive wear.
- If the seal is in good condition, reassemble the components according to the manufacturer’s instructions.
- Test the system to ensure proper function and leak-free operation.

