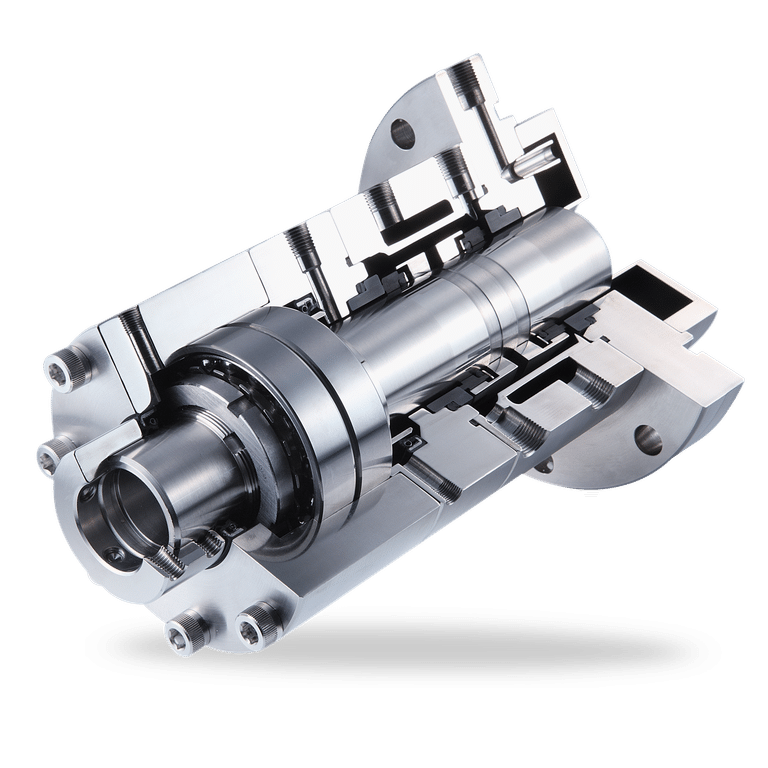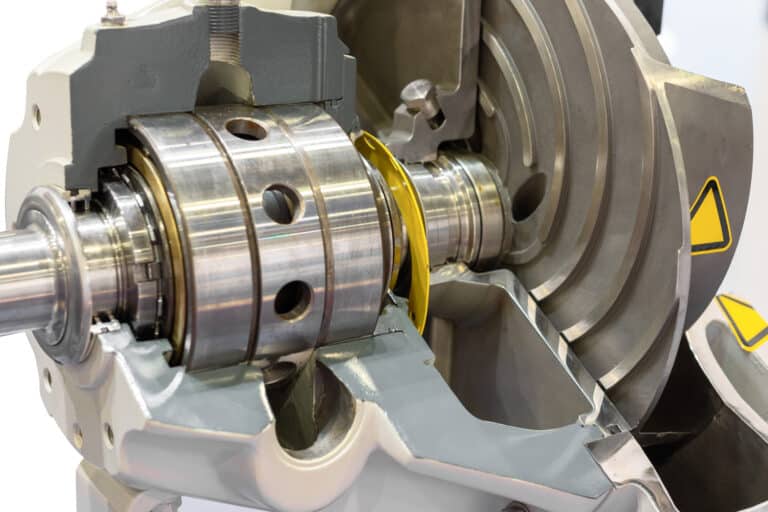
To clean a mechanical seal, take it apart and wipe each lapped face with a lint-free cloth and isopropyl alcohol; wash the O-rings and other rubber parts in a mild detergent solution. The faces run with a gap that can be as small as one micron, so a grain of dirt or the oil from a fingerprint left on either face is enough to make the seal leak.
Step 1: Gather Tools and Prepare a Clean Work Area
Work on a clean bench covered with a clean cloth or paper, and have these at hand before the seal comes apart:
- Lint-free cloths: for every wipe.
- Isopropyl alcohol: for the faces and the metal parts.
- Mild detergent and distilled water: to wash and rinse the O-rings and other rubber parts.
- Lint-free gloves: to keep skin oil off the faces; without them, wash your hands first.
- The seal’s own tools: the hex keys supplied with a cartridge seal, and a blunt O-ring pick.
Compressed air is optional. Keep it off the lapped faces.
Step 2: Take the Seal Apart
With the seal out of the pump, take it apart only as far as its maker’s instructions allow. Many cartridge seals are not meant to be stripped in the plant at all; decontaminate one of those and return it to its maker for reconditioning.
Brush or blow loose dirt off the outside before you separate the faces. Lift the faces apart by hand and lay every part on the clean cloth in the order and orientation it came off, with each face lapped side up.
Step 3: Clean the Seal Faces
Wipe each lapped face with a clean lint-free cloth wetted with isopropyl alcohol until no fingerprint, film or particle is left on it. Carbon, ceramic and silicon carbide faces are all cleaned this way. None of them needs a soak.
Keep brushes, scouring pads and other abrasives off a lapped face, even wet with solvent. Anything the wipe does not remove, such as a groove, a chip or a hard deposit, is left for the check in Step 5 rather than scrubbed.
A new component seal’s faces get the same wipe just before they go together. After the wipe, nothing should touch a lapped face, so hold it by its outside edge or wear lint-free gloves.
Step 4: Clean the Elastomers and Metal Parts
Wash the O-rings and other rubber parts in a mild detergent solution, and wipe the metal parts with isopropyl alcohol on a lint-free cloth.
The O-ring maker Parker rates these cleaners and the usual O-ring lubricants for immersion:
| Cleaner or lubricant | Nitrile (NBR) | EPDM | FKM | FFKM |
|---|---|---|---|---|
| Detergent or soap solution | Satisfactory | Satisfactory | Satisfactory | Satisfactory |
| Isopropyl alcohol | Fair | Satisfactory | Satisfactory | Satisfactory |
| Acetone | Unsatisfactory | Satisfactory | Unsatisfactory | Satisfactory |
| Silicone grease | Satisfactory | Satisfactory | Satisfactory | Satisfactory |
| Petroleum jelly | Satisfactory | Unsatisfactory | Satisfactory | Satisfactory |
Parker defines fair as usually acceptable in a static seal, so wiping a face with alcohol is no problem for a nitrile O-ring beside it.
Clean only the rubber parts you will reuse. Flat gaskets are single-use and are replaced at every rebuild. So is any O-ring that has hardened, swollen, cracked or flattened.
On the metal parts, clear product build-up out of the springs or metal bellows with a soft brush. Wipe the shaft or sleeve and the seal chamber as well, including the pocket the stationary seat sits in.
Parker’s ratings in the table apply equally to the lubricant the O-rings get when the seal goes back together. The lapped faces go together dry unless the seal drawing calls for a lubricant.
Step 5: Rinse and Dry the Parts
Rinse only the parts washed in detergent, and use distilled water. Pat the rinsed parts with a lint-free cloth and let them air-dry completely before the seal goes back together.
Once everything is dry, check each face for scratches, chips and cracks. A damaged face does not go back in: send the seal for repair or replace it.