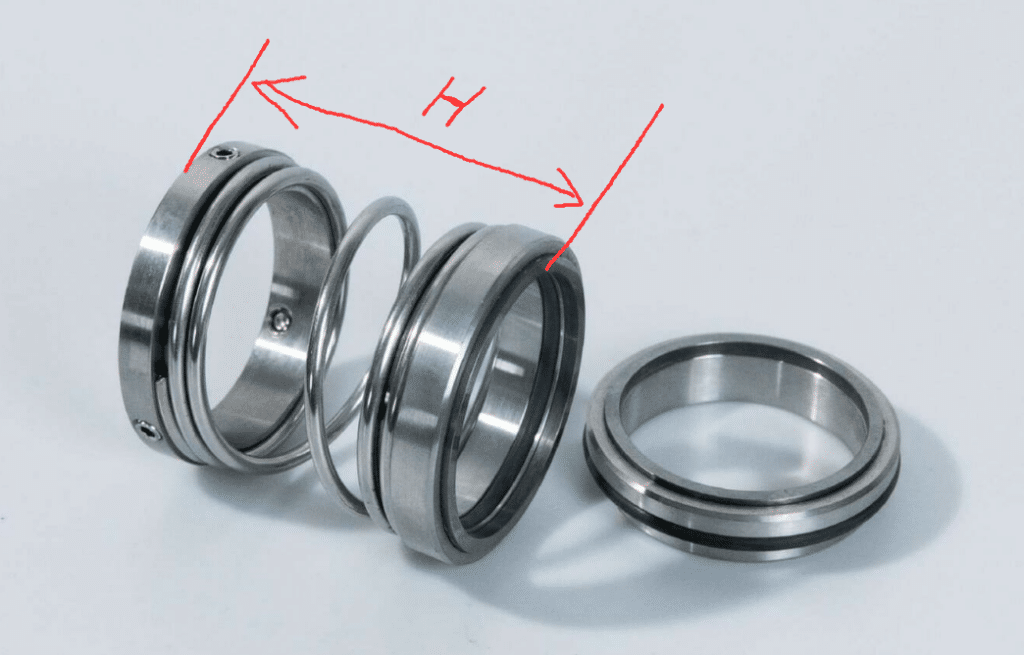
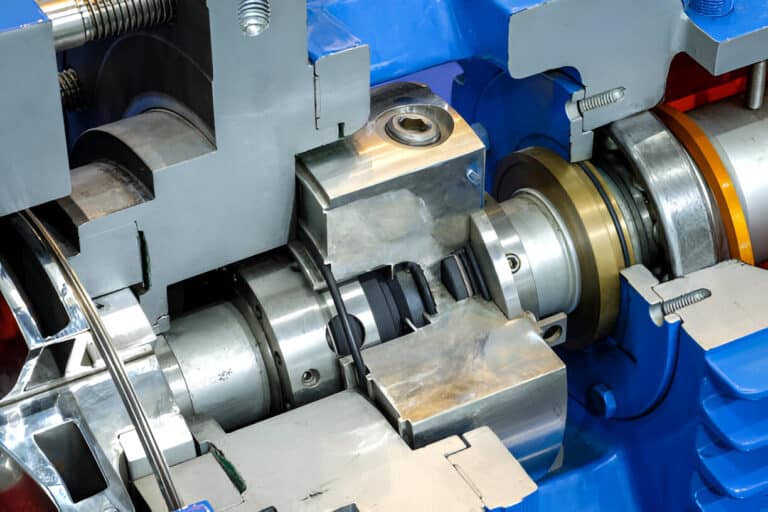
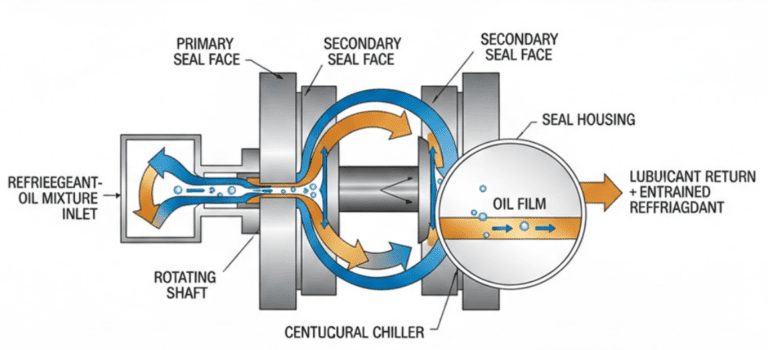
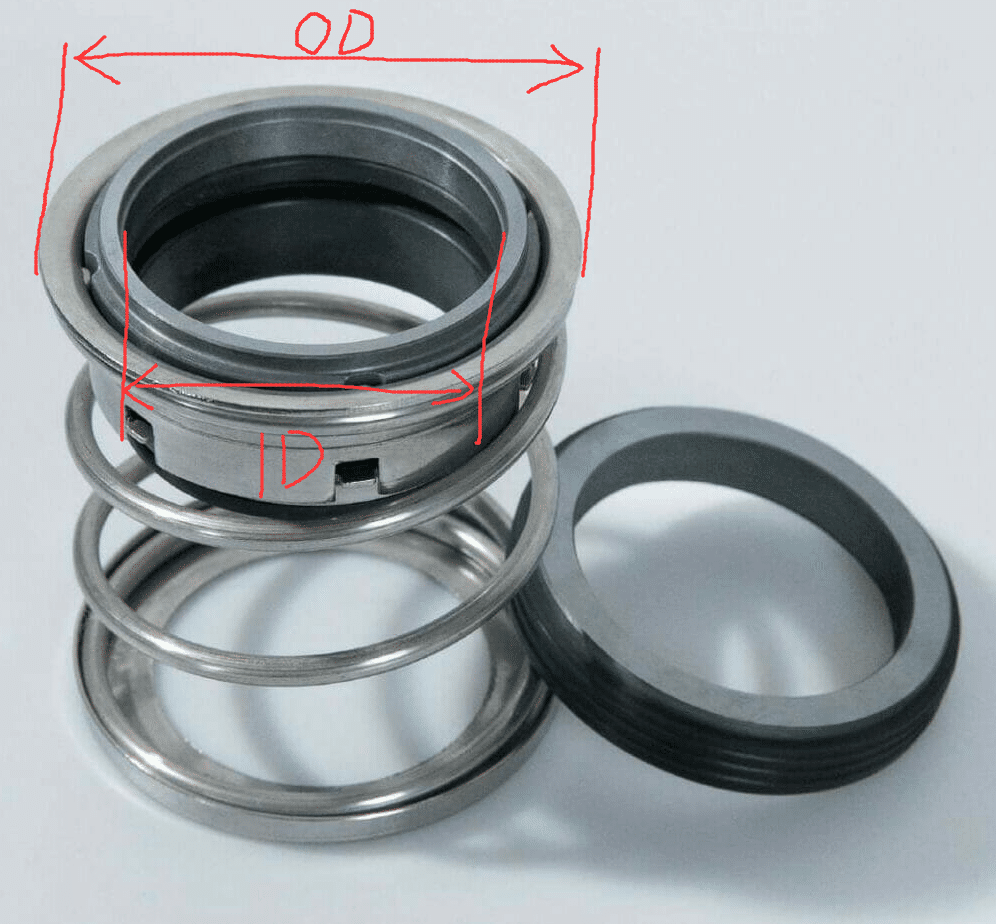
To accurately measure mechanical seals, you’ll need to focus on key dimensions of each component. Start with the stationary face, measuring its outer and inner diameters, as well as its thickness or height. Then, move on to the rotating face, determining its outer and inner diameters, and finally measure the overall height of the seal.
Outer Diameter and Inner Diameter of Stationary Face
Measure outer diameter with a caliper or micrometer across the widest part of the face. Ensure the measuring tool’s jaws are perpendicular to the surface.
For inner diameter, insert the caliper or micrometer into the central opening and expand until it touches both sides.
Take multiple measurements at different points to account for wear or manufacturing variations. Record measurements in inches or millimeters.
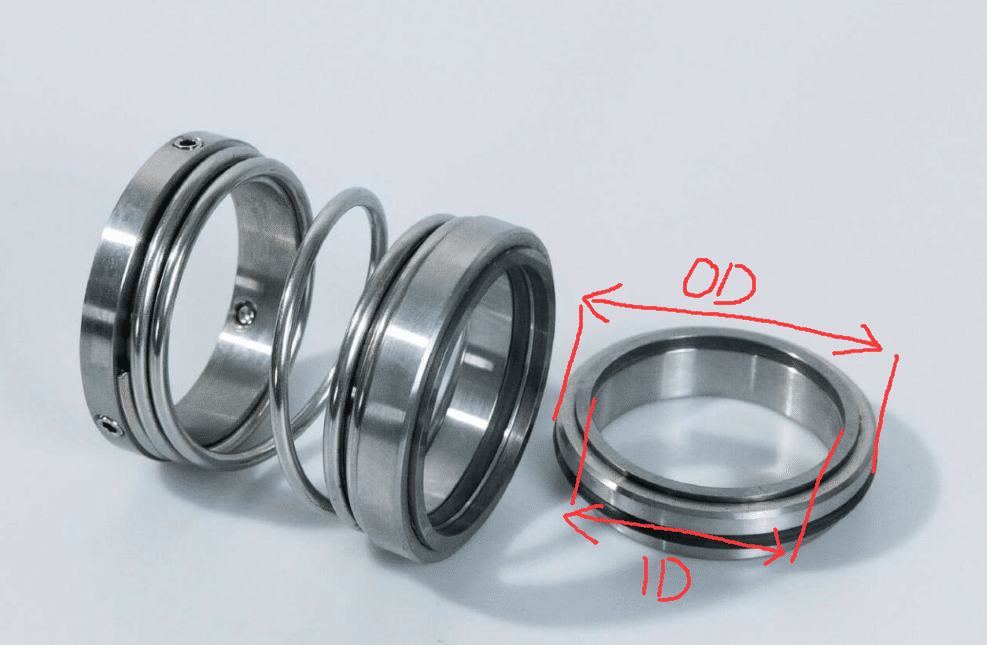
Thickness(height) of Stationary Face
Place the stationary face on a flat surface and measure from bottom to top at multiple points around the circumference to account for potential unevenness. Take several readings and calculate the average for optimal precision.
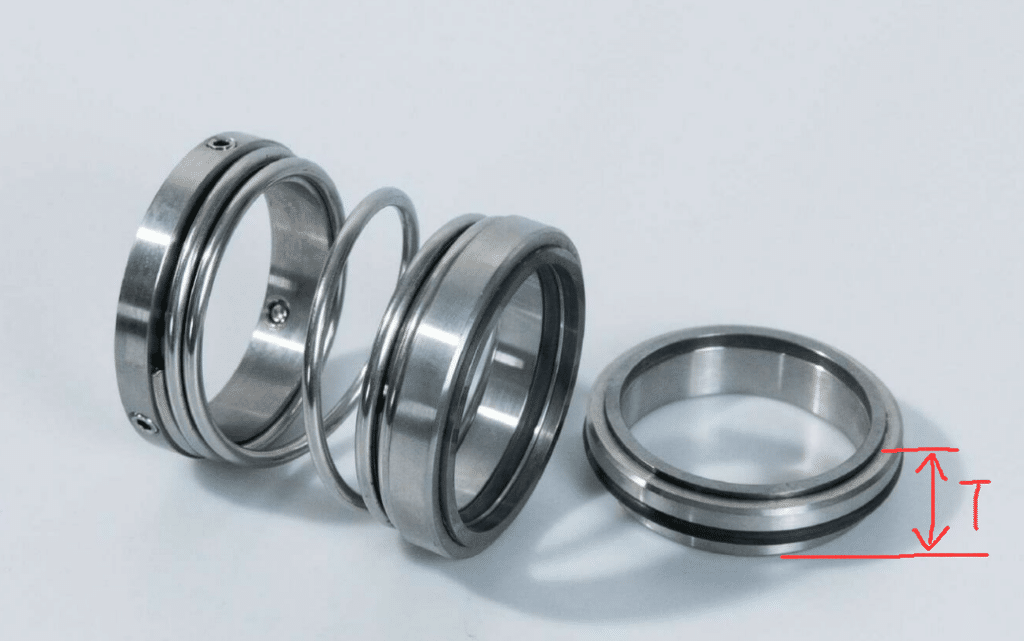
Outer Diameter and Inner Diameter of Rotating Face
Use a digital caliper or micrometer for the outer diameter. Place the tool’s jaws around the widest part of the rotating face, perpendicular to its axis.
For the inner diameter, insert the caliper’s depth rod or use inside calipers to measure the narrowest part of the face’s central opening.
Take multiple measurements at different points to account for irregularities. Record measurements to the nearest 0.001 inch or 0.01 mm.
Height of Seal
Use a height gauge or caliper to measure the seal face from its base to the top surface. For the gland plate, measure from the gasket surface to the plate’s top. Compress the spring to its working height and record the measurement.
Measure the seal housing from bottom to top surface. For cartridge seals, measure overall height from mounting surface to top. Account for protrusions or recessed areas affecting total height.
