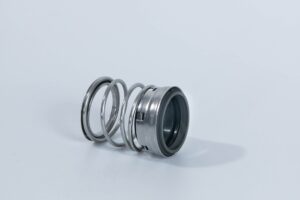
Is your pool pump leaking water around the seal or making strange noises? The O-ring may be failing, allowing water to escape and air to enter the pump.
Left unaddressed, a damaged O-ring can cause the pump to lose prime, run dry, and overheat, leading to costly repairs or total pump failure. The leak will also waste water and increase your utility bills.
Fortunately, replacing the O-ring is a simple repair that you can do yourself in under an hour with just a few tools. Follow these 9 easy steps to restore your pool pump to optimal performance and eliminate leaks.

Step 1: Shut Off Water Flow
Before beginning any work on your pool pump, it is essential to shut off the water flow to the pump. Locate the inlet and outlet valves connected to your pump and turn them to the closed position. This will prevent water from entering or exiting the pump while you are replacing the O-ring.
Step 2: Turn off the power
Next, disconnect the power supply to your pool pump. Locate the circuit breaker that controls the pump and switch it to the OFF position. If your pump is connected to a timer or automation system, be sure to turn those off as well. Verify the pump is off by attempting to turn it on at the switch.
Step 3: Relieve pressure
With the power and water flow shut off, open the relief valve on the pump housing to release any built-up pressure inside the pump. The relief valve is typically located on top of the pump housing near the pressure gauge. Open this valve slowly to allow air to enter the system and equalize the pressure.
Step 4: Remove the Pump Lid
Once the pressure is relieved, you can safely remove the pump lid. Most lids are held in place with clamps or bolts. Loosen the clamps or bolts with the appropriate tools and carefully lift off the lid.
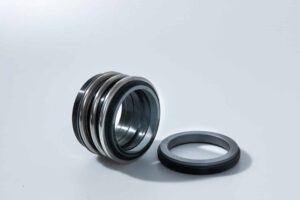
Step 5: Extract the Old O-ring
With the pump lid removed, you will be able to access the O-ring that needs to be replaced. The O-ring sits in a groove on the underside of the pump lid. Carefully remove the old O-ring from the groove using a small flat-head screwdriver or pick. Avoid using sharp metal tools that could scratch the sealing surface.
Step 6: Clean the seating area
Before installing the new O-ring, thoroughly clean the O-ring groove and sealing surfaces on the pump lid and housing. Remove any debris, dirt or remnants of the old O-ring. You can use a soft cloth and a mild cleaning solution if needed. Be sure the groove and sealing areas are completely clean and dry before proceeding.
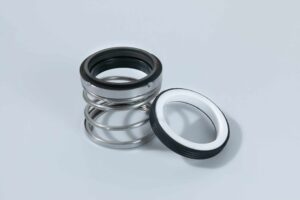
Step 7: Lubricate the new O-ring
To ensure a proper seal and extend the life of the new O-ring, apply a thin layer of silicone-based O-ring lubricant to the entire surface of the ring. This will help the O-ring slide into place without twisting or pinching. Only use a lubricant approved for pool pump O-rings, as other products may degrade the rubber.
Step 8: Install the New O-Ring
With the O-ring lubricated, carefully place it into the groove on the pump lid. Make sure the O-ring sits evenly in the groove without any twists or kinks. Press the O-ring into place along the entire circumference of the groove. Double check that the O-ring is properly seated before replacing the lid.
Step 9: Reassemble and Test Pump
With the new O-ring in place, reattach the pump lid to the housing. Secure it using the clamps or bolts you removed earlier, making sure they are tightened evenly. Once the lid is in place, close the relief valve and turn the inlet and outlet valves back to the open position.
Turn the power back on to the pump at the circuit breaker and any timer or automation system. Turn the pump on at the switch and check for any leaks around the lid. If the pump is running smoothly with no leaks, the O-ring replacement is complete. Monitor the pump during its next few cycles to ensure proper operation.