Mechanical seal installation requires precision and attention to detail. Even small errors during installation can lead to premature seal failure, equipment downtime, and costly repairs.
This guide covers the most frequent installation errors technicians make. By avoiding these mistakes, you can extend seal life and improve equipment reliability.

Shaft or Equipment Misalignment
Misalignment causes 50% of all mechanical seal failures. When the shaft isn’t perfectly aligned with the seal housing, it creates uneven pressure on the seal faces.
This uneven pressure leads to rapid wear on one side of the seal. You might notice vibration, heat buildup, or leaking within days of installation.
Check alignment with a dial indicator before installing any seal. The shaft runout should be less than 0.003 inches for most applications.
Coupling misalignment is another common problem. Even if the shaft looks straight, a misaligned coupling puts stress on the seal during operation.
Insufficient or Improper Lubrication
Mechanical seals need proper lubrication to function correctly. Running a seal dry, even for a few seconds, can cause permanent damage to the seal faces.
Many technicians forget to pre-lubricate the seal faces before startup. This simple step takes less than a minute but prevents significant damage.
The wrong type of lubricant can also cause problems. Use only compatible fluids that won’t damage the seal materials or contaminate your process fluid.
Some seals require a specific flush plan to maintain proper lubrication during operation. Installing the wrong flush arrangement leaves seals vulnerable to dry running conditions.
Contamination of Sealing Faces
A single particle of dirt between the faces can scratch the surface and create a leak path. Many installers touch the seal faces with bare hands. The oils from your skin can prevent proper seal face contact and cause early failure.
Work area contamination is equally dangerous. Installing seals in dusty or dirty environments introduces particles that damage the precision surfaces.
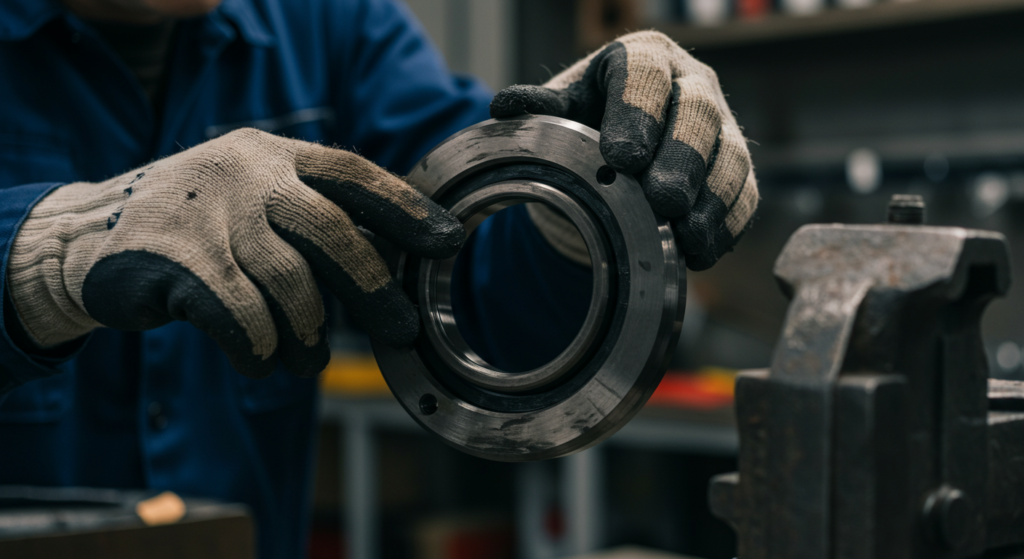
Always use clean gloves when handling seal components. Cover seal faces with protective film until the moment of installation.
Fastener Torque Errors
Over-tightening bolts warps the seal housing and creates uneven pressure on the seal faces.
Under-tightening is equally problematic. Loose bolts allow the seal to move during operation, breaking the seal between faces.
Use a calibrated torque wrench for all seal installations. Follow the manufacturer’s torque specifications exactly, including the tightening sequence.
Cross-pattern tightening ensures even pressure distribution. Tighten bolts in stages, reaching final torque in three steps rather than all at once.
Using Wrong Seal Parts or Sizes
Installing the wrong seal size seems obvious, but it happens more often than you’d think. A seal that’s 1/16 inch too large or small won’t function properly.
Material compatibility is equally important. Using Viton O-rings in an application requiring EPDM leads to rapid chemical deterioration.
Always verify part numbers against the equipment manual. Double-check seal dimensions with calipers before installation.
Keep different seal types separated in storage. Mixing parts from different seals creates compatibility issues that aren’t always visible.
Mishandling Seal Components
Mechanical seals contain precision-machined surfaces that damage easily. Dropping a seal component just 6 inches can create microscopic cracks.
Carbon seal faces are particularly fragile. These components shatter like glass when impacted or stressed incorrectly.
Store seals in their original packaging until installation. Never stack heavy items on top of seal boxes.
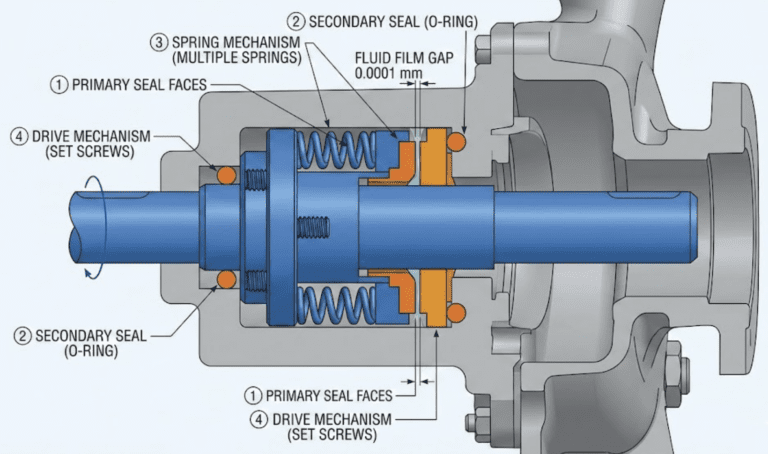
Handle spring-loaded seals carefully to prevent spring damage. Compressed or stretched springs won’t provide proper face pressure during operation.
Improper Tools or Assembly Methods
Using the wrong tools damages seal components before they’re even installed. Hammers and metal punches have no place in seal installation.
Proper installation requires specific tools like seal drivers and sleeve installers. These tools distribute force evenly without damaging delicate components.
Heating or cooling components helps with tight fits. But excessive temperature changes can alter seal dimensions permanently.
Follow the manufacturer’s installation procedure step by step. Skipping steps or taking shortcuts leads to problems during operation.
Dirty or Damaged Shaft/Housing
Installing a new seal on a damaged shaft wastes time and money. Shaft scratches, corrosion, or wear create leak paths that bypass the seal entirely.
Check shaft condition with a surface roughness gauge. Most seals require a surface finish of 32 microinches or better.
Seal housing condition matters equally. Pitted or corroded housing bores prevent proper seal compression and support.
Clean all surfaces thoroughly before installation. Remove old gasket material, rust, and debris that could interfere with the new seal.
Polish minor shaft imperfections with emery cloth. Replace severely damaged shafts rather than attempting repairs that compromise seal performance.


