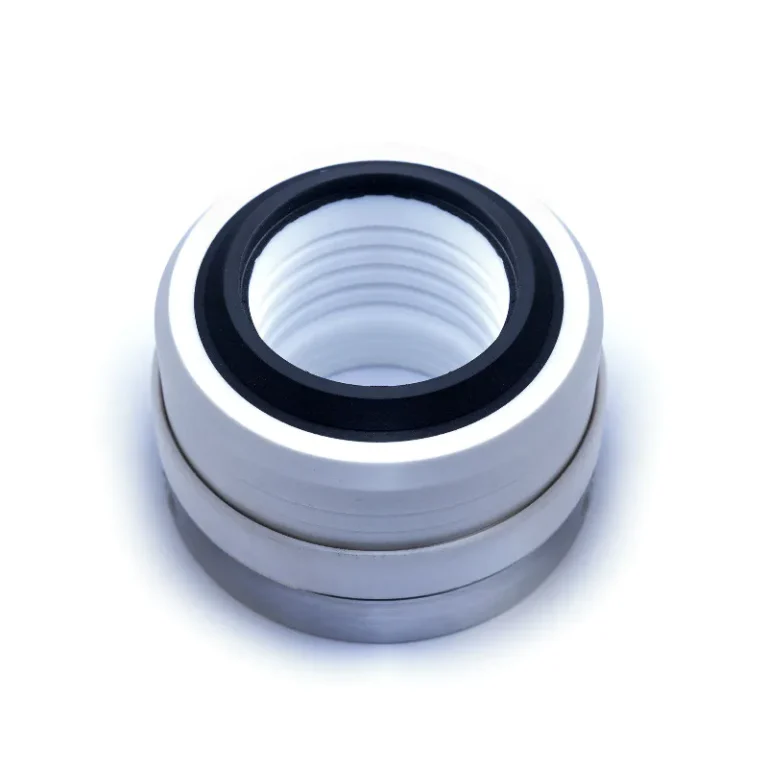
Every mechanical seal, from a small water pump to a refinery reactor, breaks down into four component groups: seal faces, secondary seals, springs, and structural hardware. That list hasn’t changed in a hundred years of seal design. But naming the parts is only half the job — you also need to know what each piece looks like on the bench, which ones wear out first, and what to check when something starts leaking.
Seal Faces
Two precision-lapped rings pressed together with an ultra-thin fluid film between them — that is the entire sealing mechanism. One face rotates with the shaft. The other sits stationary in the gland. The fluid film between them lubricates and cools the contact zone, maintaining 50-150 PSI of contact stress without generating destructive heat.
The rotating face is typically carbon graphite — dark gray or black, slightly waxy to the touch, and lighter than you would expect. The stationary face is usually a harder ceramic, silicon carbide, or tungsten carbide ring, identifiable by its heavier weight and polished mirror finish.
Never touch the lapped sealing surfaces with bare hands. Skin oil alone causes premature wear. Handle faces by the edges, and if you drop a ceramic ring, discard it. Sintered ceramics develop internal fractures from impact that are invisible but will cause the seal to fail within weeks.
A worn face shows concentric grooves that look and feel like a vinyl record. A blue or gold tint on the metal parts near the faces means overheating — the face ran without sufficient lubrication.
Secondary Seals
O-rings and elastomers fill every gap that the primary faces cannot cover. A typical seal has three to five O-rings sealing between the rotating face and shaft, the stationary face and gland plate, and various connection points throughout the assembly.
These come in two types. Static O-rings sit between parts that do not move relative to each other. Dynamic O-rings must slide along the shaft as the faces wear down. That sliding dynamic O-ring is the single most common failure point for beginners — if the shaft surface is rough, corroded, or undersized, the O-ring tears or hangs up and the seal leaks regardless of how good the faces are.
Elastomer selection depends entirely on what fluid you are sealing. EPDM handles water and steam but swells in oil. FKM (Viton) handles oils and most chemicals up to 400 F but fails in alkaline service. I pulled a set of FKM O-rings out of an ammonia refrigeration compressor once — they had turned into brittle black shards. EPDM should have been specified from the start.
Springs and Drive Mechanisms
The spring pushes the rotating face against the stationary face with a controlled force — typically 5 to 50 pounds depending on seal size and pressure rating. Too little force and the seal leaks at startup. Too much and you prevent the fluid film from forming, which means dry contact and rapid wear.
Single-spring seals use one large coil wrapped around the shaft. Multi-spring designs arrange smaller springs in a circle behind the seal face. The difference matters when you handle them: a single-spring seal has an obvious direction of wind (install it backward and it uncoils), while multi-spring seals are direction-independent and more forgiving during installation.
Drive mechanisms transfer shaft rotation to the rotating face assembly — pins, drive lugs, or set screws sitting in machined slots. The floating drive design accommodates up to 0.015 inches of shaft deflection, so the face tracks properly even when the shaft wobbles under load.
Gland Plate and Sleeve
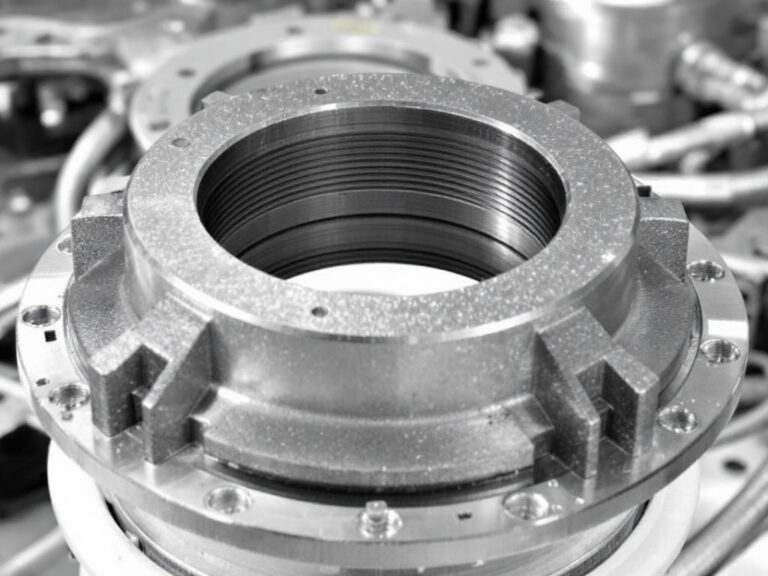
The gland plate is the large metal plate that bolts to the pump stuffing box and holds the stationary seal face in position. It is the most visible part of the assembly from outside the pump and provides connection ports for flush lines, quench systems, or drain ports.
The sleeve slides over the shaft and carries the entire rotating assembly — face, O-rings, spring, and drive mechanism. Before you install a sleeve, run your finger along the shaft surface under it. Scratches or burrs running lengthwise will cut the dynamic O-ring and cause a leak from day one. The shaft needs a mirror finish where the O-ring rides.
Setting clips hold the seal at the correct axial position during installation and set the proper spring compression. Remove them after the gland bolts are torqued — leave them in and the seal cannot move to compensate for face wear.
Which Parts Wear Out First
O-rings fail first. Heat, chemical attack, and shaft surface condition all degrade elastomers faster than any other component. When you pull apart a failed seal, check the O-rings before anything else. Hardened, cracked, or flattened O-rings tell you the elastomer was wrong for the application or the temperature exceeded its rating.
Seal faces are next. A healthy face has a uniform gray contact band across its full width. Grooves, chips, or thermal discoloration mean the face ran dry. I have seen silicon carbide faces track inside the seat ring from overheating — thermal expansion pushed the rotating face off its seat, creating a stepped wear pattern that destroyed the seal in days.
Springs rarely fail unless they corrode. If the spring looks intact but the seal leaked, the problem is almost always the faces or O-rings.
A standard seal repair kit includes replacement faces, O-rings, and the spring — exactly the three components that actually wear. If you are ordering parts for the first time, start with the kit.
What to Check First
When a seal starts leaking, work from the outside in. Check gland bolt torque and O-ring condition first — those are the easiest to fix and the most frequently overlooked. Then pull the seal and inspect the faces for wear marks, grooves, or discoloration. Springs are last because they almost never cause the leak on their own. Knowing which parts wear first saves you from replacing an entire assembly when a $3 O-ring was the only problem.