Removing a mechanical seal requires careful planning and the right technique to avoid damaging expensive equipment. Mechanical seals prevent fluid leakage in rotating equipment like pumps and mixers, and they’ll eventually need replacement when they wear out or fail. This guide walks you through the entire removal process safely and efficiently.

Why You’d Need to Remove a Mechanical Seal
Mechanical seals typically need removal when they start leaking, make unusual noises, or show visible damage during routine inspections. A failing seal can cost you thousands in lost product, environmental cleanup, or equipment damage if you don’t address it quickly.
Think of it like replacing worn brake pads on your car. You wouldn’t wait until they’re completely gone – you’d replace them at the first signs of trouble to prevent bigger problems.
Essential Safety Preparations
Before touching any equipment, you must shut down the system completely and follow lockout/tagout procedures. This means physically locking the power switch and tagging it so nobody accidentally turns it back on while you’re working.
Drain all fluids from the pump and relieve any system pressure. Even a small amount of residual pressure can cause serious injury when you start loosening components.
Gather your tools beforehand: seal puller, soft-faced hammer, cleaning solvent, rags, and your replacement seal.
How to Remove a Mechanical Seal
Step 1: Disconnect the Pump from the System
Start by closing all valves leading to and from the pump. Disconnect the coupling between the motor and pump shaft by removing the coupling guard and unbolting the coupling halves.
This isolation ensures no fluid enters the work area and gives you room to maneuver.
Step 2: Remove the Pump Casing
Unbolt the pump casing bolts in a crisscross pattern to prevent warping. Carefully separate the casing halves or remove the back pull-out assembly, depending on your pump design.
You’re essentially opening up the pump like a clamshell to access the seal area.
Step 3: Mark the Seal Components
Before removing anything, mark the seal faces and mating surfaces with a permanent marker. Take photos from multiple angles showing how everything fits together.
These reference marks save hours of confusion during reassembly, especially if you’re working with an unfamiliar seal design.
Step 4: Remove the Rotating Seal Components
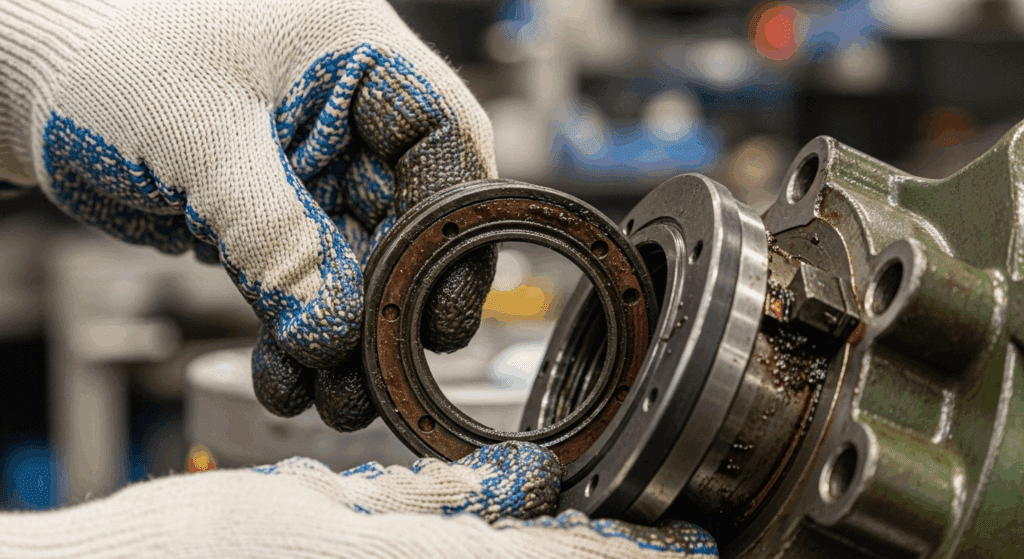
Loosen the set screws on the seal’s rotating assembly. Slide the spring-loaded rotating portion off the shaft, being careful not to damage the shaft surface.
If it’s stuck, use a seal puller tool rather than prying with a screwdriver, which could gouge the shaft.
Step 5: Extract the Stationary Seal Face
The stationary seal face sits in the seal chamber or gland plate. Gently tap it out from behind using a soft-faced hammer and brass drift.
Work your way around the seal evenly to prevent it from binding in the housing.
Step 6: Clean and Inspect All Surfaces
Clean the shaft, seal chamber, and all mating surfaces with appropriate solvent. Look for scoring, pitting, or corrosion that could prevent the new seal from working properly.
Any imperfections you find now need addressing before installing the new seal, or you’ll be doing this job again soon.
Step 7: Document Seal Information
Record the seal manufacturer, model number, and materials of construction from the old seal. Measure critical dimensions like shaft diameter and seal chamber depth.
This information helps you verify you have the correct replacement seal and provides valuable maintenance history.
Common Mistakes to Avoid
Never use a steel hammer directly on seal components – you’ll crack the delicate seal faces. Always use brass or plastic tools when direct contact is necessary.
Don’t rush the removal process to save time. Taking an extra 30 minutes to work carefully prevents shaft damage that could sideline your equipment for days.
Avoid mixing up seal components from different stages if you’re working on multiple pumps. Keep each seal’s parts in separate, labeled containers.
FAQs
How long does it take to remove a mechanical seal?
A typical mechanical seal removal takes 2-4 hours for an experienced technician. First-time removal on an unfamiliar pump might take 6-8 hours including preparation and cleaning.
Can I reuse a mechanical seal after removing it?
Generally no – seal faces often sustain microscopic damage during removal. However, some expensive seals can be professionally refurbished if removed carefully and promptly sent for reconditioning.
What’s the most common cause of seal removal difficulties?
Corrosion and mineral deposits create the biggest removal challenges. Regular flushing and proper seal flush plans prevent this buildup from cementing components together over time.
How do I know if the shaft is damaged during removal?
Run your fingernail along the shaft surface – if it catches anywhere, the shaft needs repair. Also check with a micrometer for undersize conditions from wear or improper removal techniques.
Should I replace the seal immediately after removal?
Not always – first address whatever caused the seal failure. Fix alignment issues, replace worn bearings, or correct operational problems before installing the new seal.
What if the seal is stuck and won’t come off?
Apply penetrating oil and let it soak for several hours. Use a proper seal puller tool and work gradually around the seal. Heating the metal housing slightly can help, but never use a torch near seal faces.


