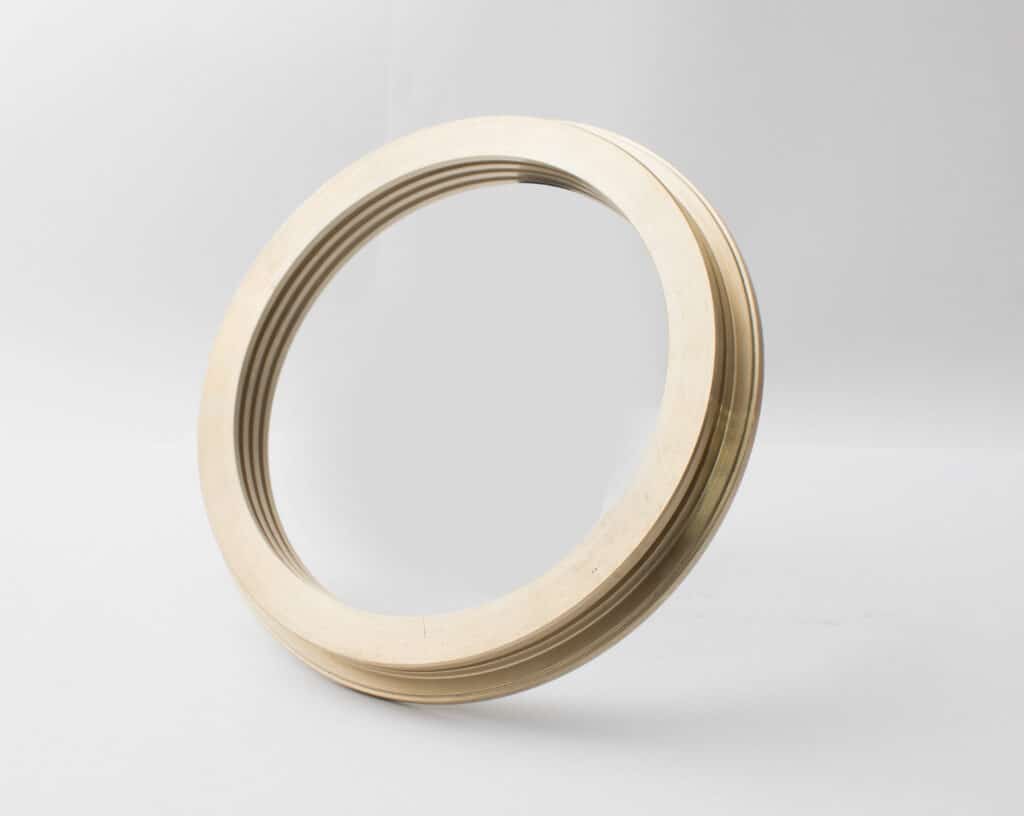
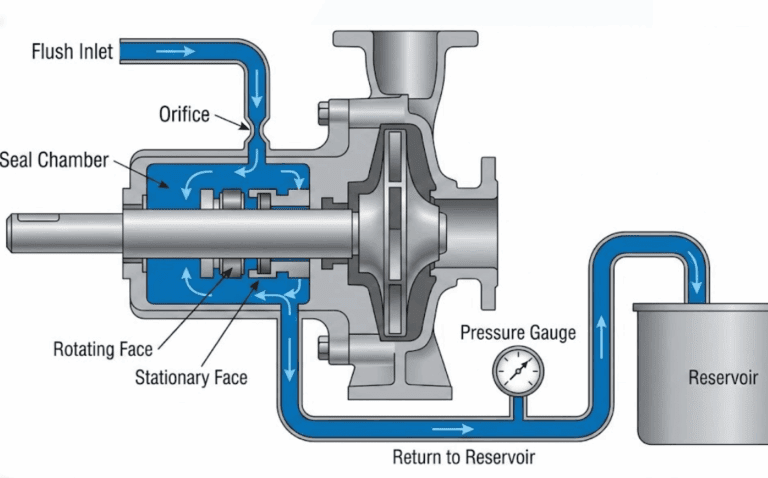
Labyrinth mechanical seals are non-contact sealing devices that prevent fluid or gas leakage in rotating equipment like turbines, compressors, and pumps. They work by creating a tortuous path – like a maze – that makes it difficult for fluids to escape.
When these seals fail, you’ll notice increased leakage, vibrations, or contamination in your system. The good news is that with the right approach, you can repair them yourself and get your equipment running smoothly again.

When Repair is Needed
You’ll know it’s time to repair your labyrinth seal when you spot excessive leakage around the shaft, hear unusual noises, or notice a drop in system efficiency. These symptoms mean the seal’s clearances have worn beyond acceptable limits.
Think of it like a worn-out weather strip on your door. When the gap gets too big, air (or in this case, fluid) starts leaking through where it shouldn’t.
Regular inspections can catch these problems early. Most labyrinth seals need attention every 12-18 months in heavy-duty applications, though this varies based on your operating conditions.
Step 1: Shut Down and Isolate the Equipment
First, completely shut down the machine and follow your facility’s lockout/tagout procedures. This prevents accidental startup while you’re working and keeps everyone safe.
Drain any fluids from the seal area and surrounding chambers. You’ll need a clean, dry workspace to properly assess the damage.
Allow hot equipment to cool to room temperature. Working on hot seals can cause burns and give you inaccurate measurements due to thermal expansion.
Step 2: Remove the Seal Assembly
Carefully unbolt the seal housing from the equipment casing. Keep track of all bolts and their locations – they often have specific torque requirements you’ll need to match during reassembly.
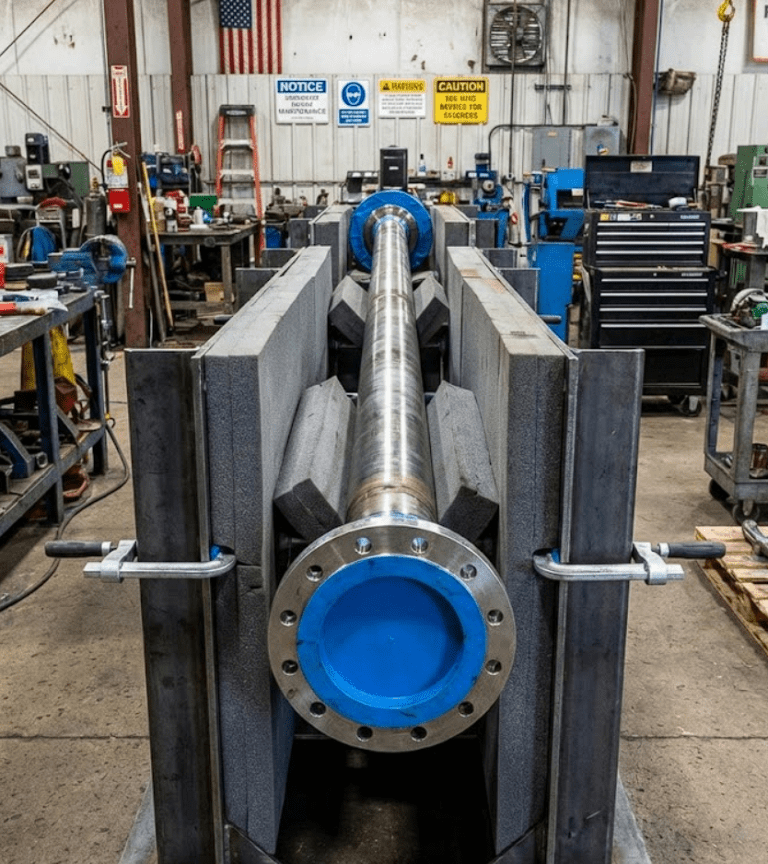
Slide the seal assembly off the shaft slowly and evenly. If it’s stuck, use a seal puller rather than hammering, which could damage the shaft surface.
Place the removed seal on a clean workbench. Take photos of the assembly before disassembling further – these will be your roadmap during reassembly.
Step 3: Inspect and Measure the Components
Check the labyrinth teeth (the ridges that create the maze pattern) for wear, cracks, or deformation. Even small chips can significantly reduce sealing effectiveness.
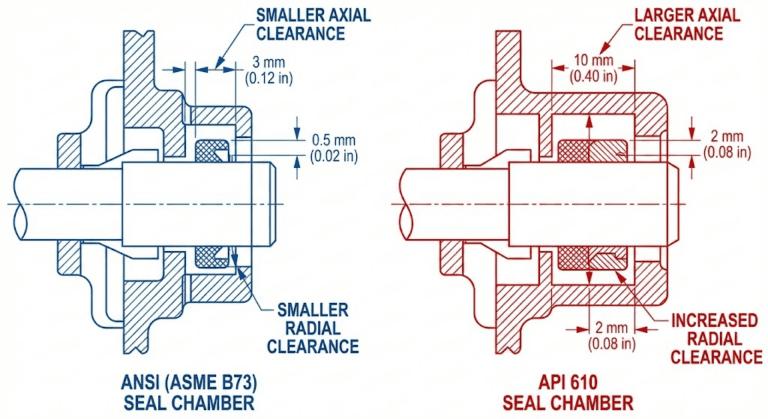
Measure the clearance between the rotating and stationary parts using feeler gauges or a dial indicator. Compare these measurements to the manufacturer’s specifications – typically 0.010″ to 0.030″ depending on the application.
Examine the shaft surface where the seal rides. Any scoring, pitting, or excessive wear here means you’ll need to address the shaft condition before installing a new or repaired seal.
Step 4: Clean All Components Thoroughly
Remove all debris, old sealant, and corrosion using a wire brush and appropriate solvent. Built-up contamination can throw off your measurements and prevent proper sealing.
Pay special attention to the grooves between labyrinth teeth. Use compressed air to blow out any remaining particles that could interfere with the seal’s operation.
Wipe all surfaces with a lint-free cloth. Any remaining fibers or particles will become contamination once the equipment starts running again.
Step 5: Repair or Replace Damaged Parts
Minor wear on labyrinth teeth can sometimes be dressed with a fine file to restore sharp edges. This works when damage is minimal and uniform.
For severely worn teeth, you’ll need replacement parts. Order these from your equipment manufacturer using the seal’s model number to ensure proper fit.
If the shaft shows minor damage, you can often polish it with fine emery cloth. Deeper grooves require professional shaft repair or the installation of a wear sleeve.
Step 6: Reassemble with Proper Alignment
Start reassembly by installing any O-rings or gaskets in their grooves. Use a compatible lubricant to help them seat properly without twisting.
Slide the seal assembly back onto the shaft, ensuring it’s perfectly perpendicular. Misalignment here will cause premature wear and poor sealing performance.
Use a dial indicator to verify concentricity between the rotating and stationary parts. The runout should typically be less than 0.002″ for optimal performance.
Step 7: Set the Correct Clearances
Adjust the seal clearance according to manufacturer specifications. This is critical – too tight and you’ll have contact and wear, too loose and you’ll have excessive leakage.
Use shims or adjustment screws to achieve the proper gap. Double-check your measurements at multiple points around the seal circumference.
Remember that thermal growth will affect these clearances during operation. If your equipment runs hot, you might need to set cold clearances slightly larger to compensate.
Step 8: Test and Monitor
Before returning to full operation, run the equipment at low speed for 15-30 minutes. Listen for any rubbing sounds that indicate contact between seal parts.
Check for leakage at various operating speeds. A small amount of vapor leakage is normal for labyrinth seals, but liquid leakage indicates a problem.
Monitor vibration levels and temperature for the first few hours of operation. Any sudden changes could indicate improper installation that needs immediate attention.
Common Mistakes to Avoid
Never force seal components during installation. If something doesn’t fit easily, stop and figure out why – forcing parts leads to damage and early failure.
Don’t reuse damaged O-rings or gaskets, even if they “look okay.” These inexpensive parts are critical for proper sealing and should always be replaced.
Avoid using incompatible lubricants or sealants. Check chemical compatibility with your process fluids to prevent degradation of seal materials.
FAQs
Can I upgrade from labyrinth to mechanical seals?
Yes, but it requires significant modifications to your equipment housing and shaft. Consult with a seal specialist to determine if the performance gains justify the conversion cost.
Should I repair or replace a worn labyrinth seal?
Minor wear can often be repaired, but if teeth are worn more than 50% or multiple teeth are damaged, replacement is more cost-effective and reliable.
How do I know the correct clearance for my seal?
Check your equipment manual or contact the manufacturer with your seal model number. Clearances vary based on shaft diameter, operating temperature, and application requirements.


