Mechanical seals are critical components that can fail, leading to leaks and downtime.
Ignoring seal issues puts your machinery at risk of catastrophic failure. Improper repairs can make the problem worse.
Follow our step-by-step guide to properly disassemble, clean, inspect, refurbish and reassemble mechanical seals. We’ll show you how to restore reliable performance.

Step 1: Disassembly
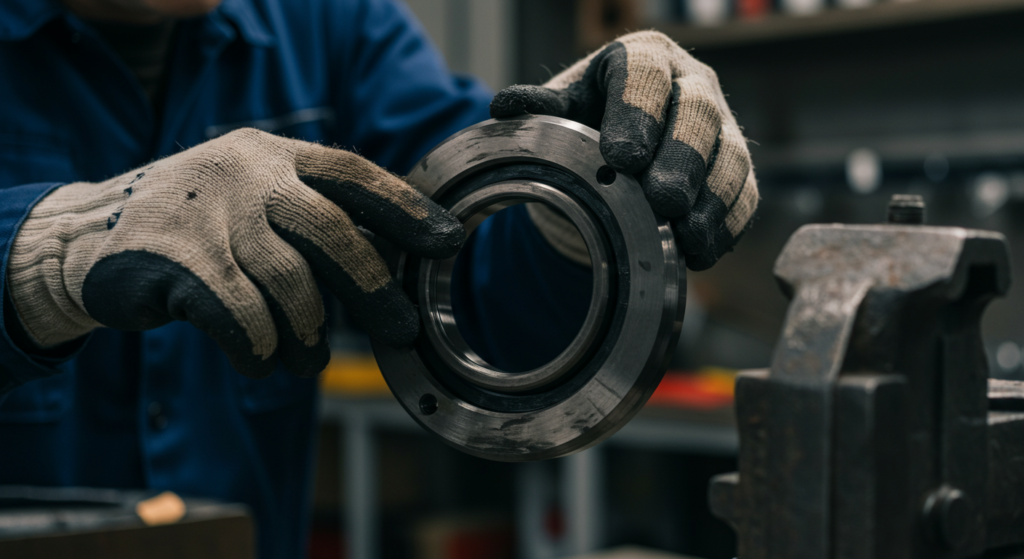
To begin repairing the mechanical seal, first ensure the equipment is properly shut down, depressurized, and drained. Carefully remove the seal from the equipment, taking note of the orientation of each component. Use a seal puller if needed to avoid damaging parts.
Separate the rotating and stationary faces of the mechanical seal. Remove the secondary seals, such as O-rings, wedge rings, or gaskets. Keep components organized and protected to avoid damage or contamination during the repair process.
Step 2: Cleaning
Clean all seal components thoroughly using a suitable solvent. Remove any debris, corrosion, or buildup from the sealing faces, O-ring grooves, and other critical areas. Use a soft brush or lint-free cloth to avoid scratching sealing surfaces.
For heavily contaminated parts, consider using an ultrasonic cleaner with an appropriate cleaning solution. Ensure complete removal of the cleaning agent after the cleaning process.
Step 3: Inspection
Carefully inspect each component of the mechanical seal for wear, damage, or corrosion. Check the sealing faces for scratches, pits, or cracks using a magnifying glass or microscope. Look for signs of overheating, such as discoloration or distortion.
Inspect the seal housing, shaft, and other mating parts for wear, runout, or damage. Replace any components that show signs of excessive wear or damage.
Step 4: Measure Dimensions
Using precision measuring tools such as micrometers or calipers, measure critical dimensions of the seal components. Check the seal face flatness using an optical flat or monochromatic light source. Measure axial and radial clearances to ensure proper fit and alignment.
Compare your measurements to the seal manufacturer’s specifications or the equipment’s tolerance requirements. Replace components that do not meet the specified tolerances.
Step 5: Lapping/Rectifying Sealing Faces
If the sealing faces show minor wear or damage, they may be restored through lapping or rectifying. Use a lapping plate with progressively finer grit compounds to remove scratches and achieve a uniform surface finish.
Maintain flatness and avoid introducing new scratches during the lapping process. Check the surface finish using a profilometer or comparison to a surface finish standard. Aim for a surface finish that meets the manufacturer’s specifications, typically 1-3 helium light bands or 0.05-0.2 μm Ra.
Step 6: Restore Metal Components
For metal components showing wear, such as shafts, sleeves, or glands, consider resurfacing or plating techniques. Chrome plating, nickel plating, or thermal spraying can restore dimensions and improve surface hardness.
Ensure proper surface preparation and adhere to the plating or spraying process specifications. After plating, check dimensions and surface finish to ensure they meet the required tolerances.
Step 7: Replace Secondary Seals
Always replace secondary seals, such as O-rings, wedge rings, or gaskets, with new ones during the repair process. Select replacement seals that are compatible with the process fluid and operating conditions.
Ensure the correct size and material grade for each seal. Lubricate O-rings with a compatible lubricant before installation to prevent damage. Properly seat each secondary seal in its designated groove or location.
Step 8: Reassembly
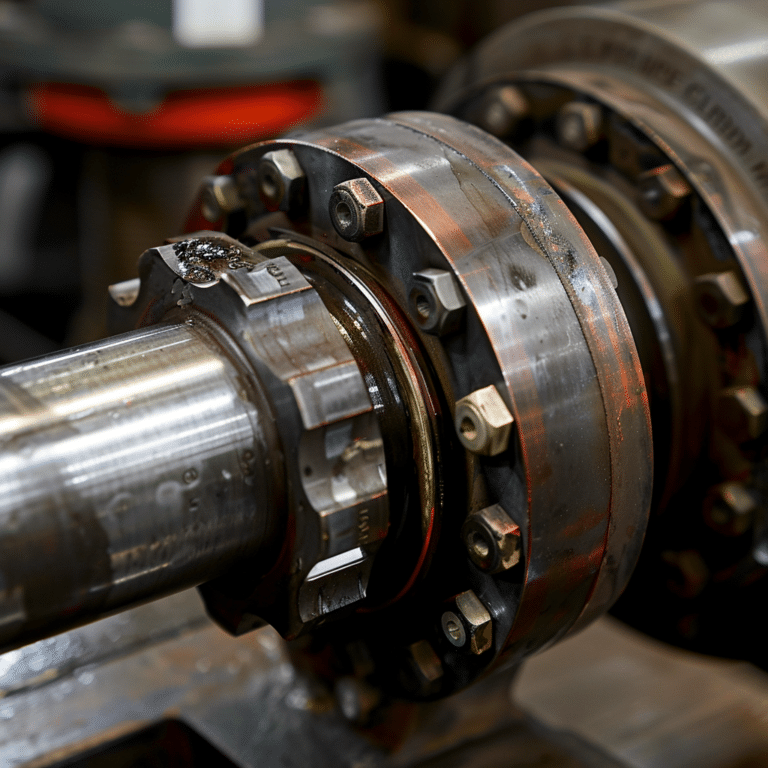
Carefully reassemble the mechanical seal, following the manufacturer’s instructions and the notes taken during disassembly. Ensure proper orientation and alignment of each component. Use assembly fixtures or jigs if provided.
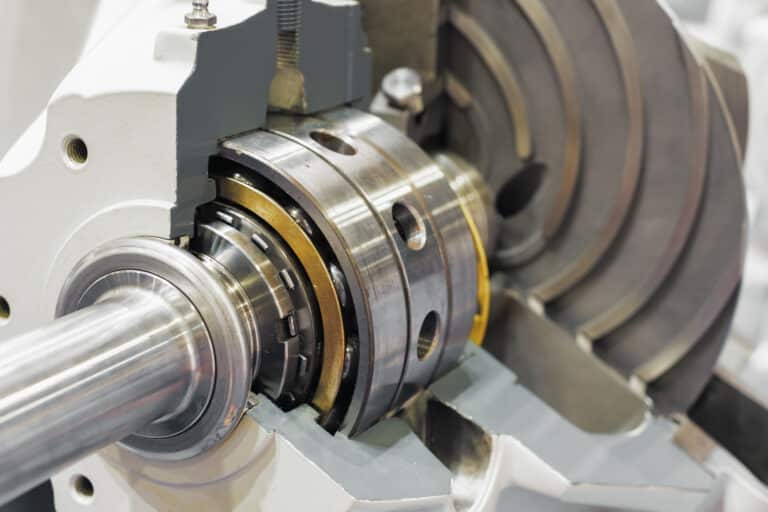
Install the stationary sealing face in the gland or housing, making sure it is fully seated and secure. Install the rotating sealing face on the shaft, sleeve, or bellows assembly. Ensure axial and radial alignment between the faces.
Reinstall any springs, drive collars, or locking mechanisms. Double-check the assembled seal for proper fit and movement before installing it back into the equipment.
Step 9: Testing
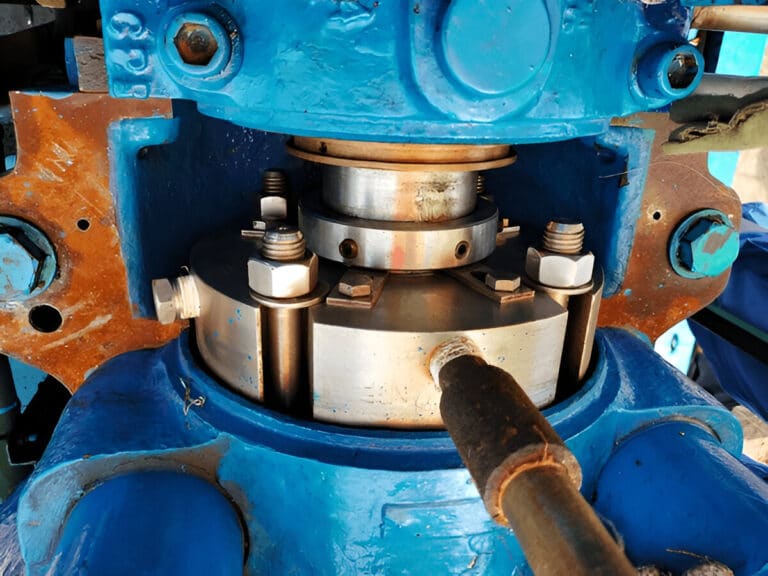
After reassembling the mechanical seal and installing it in the equipment, perform a pressure test to verify the seal’s integrity. Follow the equipment manufacturer’s testing procedures and safety guidelines.
Check for leaks at the seal gland, vent, and drain connections. Monitor the seal chamber pressure and temperature during the test. If any leaks or anomalies are detected, disassemble the seal and inspect for the root cause.
Once the seal passes the pressure test, continue with the equipment startup and commissioning procedures. Monitor the seal’s performance during initial operation and make adjustments as needed.


