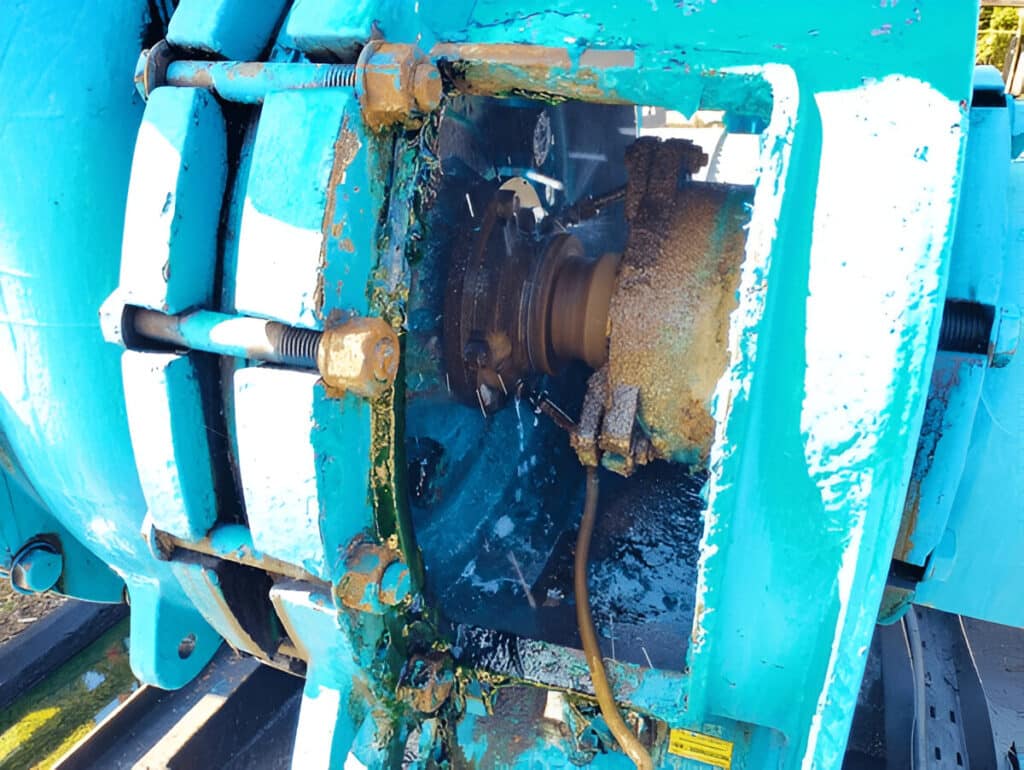
Is your pool pump leaking and losing efficiency? The likely culprit is a worn-out mechanical seal.
Ignoring this problem will lead to more costly damage to your pump system. Leaks will worsen and your energy bills will rise as the pump works harder.
Replacing the seal yourself is an affordable fix that will restore your pump’s performance. Follow our step-by-step guide to get your pool running smoothly again in no time.

Step 1: Drain and Shut Down the Pump System
Before beginning any maintenance on your pool pump, it is essential to shut down the pump system and drain the water from the pump housing. Start by turning off the power to the pump at the circuit breaker. Then, locate the drain plugs on the pump housing and remove them to allow the water to drain completely. Wait until the housing is empty before proceeding.
Step 2: Disassemble the Pump Housing
With the pump drained and powered off, you can now disassemble the pump housing to access the internal components. Remove the bolts or clamps that secure the housing halves together, using the appropriate tools. Carefully separate the two halves of the housing, taking note of the orientation of the O-ring seal between them. Set the O-ring aside in a safe place for later reassembly.
Step 3: Remove the Impeller
The impeller is the rotating component that drives water through the pump. To access the mechanical seal behind it, the impeller must be removed. First, remove the screws or bolts that secure the diffuser to the seal plate. Then, carefully pry the diffuser away from the seal plate, being cautious not to damage any components. Finally, grasp the impeller firmly and pull it straight out from the motor shaft. If it is difficult to remove, gently pry it off using a flathead screwdriver.
Step 4: Access the Mechanical Seal
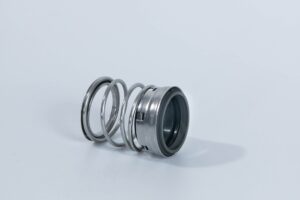
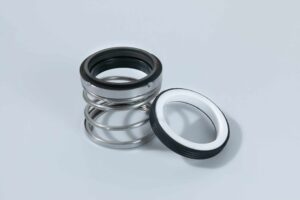
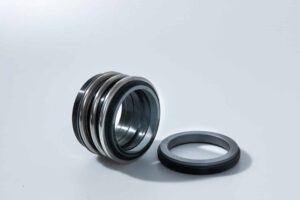
With the impeller removed, you now have access to the mechanical seal assembly. The seal consists of two parts: a stationary half mounted in the seal plate, and a rotating half attached to the impeller hub. Inspect both halves for signs of wear, damage, or corrosion. In most cases, it is best to replace the entire seal assembly rather than just one half.
Step 5: Remove the Old Seal
To remove the old mechanical seal, start with the rotating half on the impeller. Carefully pry off the spring retainer and spring, then slide the seal off the impeller hub. Next, remove the stationary seal from the seal plate. If it is stuck, gently tap it out from the back using a flathead screwdriver and mallet. Be sure to clean the seal plate and impeller hub thoroughly before installing the new seal.
Step 6: Install the New Seal
Begin installing the new seal by placing the stationary half into the seal plate. Ensure it is clean and free of debris, then press the seal firmly into place using a seal press tool or a piece of PVC pipe. Lubricate the rubber boot with a silicone-based lubricant. Next, install the rotating half onto the impeller hub. Slide the seal on, followed by the spring and spring retainer. Make sure all components are properly seated.
Step 7: Reassemble the Pump
With the new seal in place, reassemble the pump by following the disassembly steps in reverse order. Place the impeller back onto the motor shaft, making sure it is properly aligned. Reattach the diffuser to the seal plate, securing it with the screws or bolts. Place the O-ring into its groove on the pump housing, then carefully fit the housing halves back together. Secure them with the bolts or clamps, tightening evenly to ensure a proper seal.
Step 8: Reconnect and Test
Finally, reinstall the drain plugs and reconnect any pipes or hoses that were disconnected. Turn the power back on at the circuit breaker. Open the relief valve on the filter, and start the pump at a low speed setting. Slowly increase the speed, checking for any leaks around the pump housing or connections. If there are no leaks, allow the pump to run at full speed and verify that it is circulating water properly. Your pool pump should now be operating with a new mechanical seal.