Faulty gland seals can lead to equipment failure, safety hazards, and costly downtime.
Are you struggling with leaky glands and unreliable seals in your machinery? Improper installation techniques could be putting your equipment and employees at risk.
Follow our comprehensive step-by-step guide to install gland seals correctly the first time. Our expert tips will help you avoid common mistakes, extend seal life, and keep your operations running smoothly.

Step 1: Prepare the equipment
Before beginning the gland seal installation process, it is essential to properly prepare the equipment and work area.
Start by isolating the equipment that requires the new seal, such as a pump or valve. Ensure that it is completely shut down, depressurized, and cooled to a safe working temperature.
Next, thoroughly clean the work area around the equipment, removing any dirt, debris, or contaminants that could interfere with the installation or compromise the new seal’s integrity.
Step 2: Remove the old seal
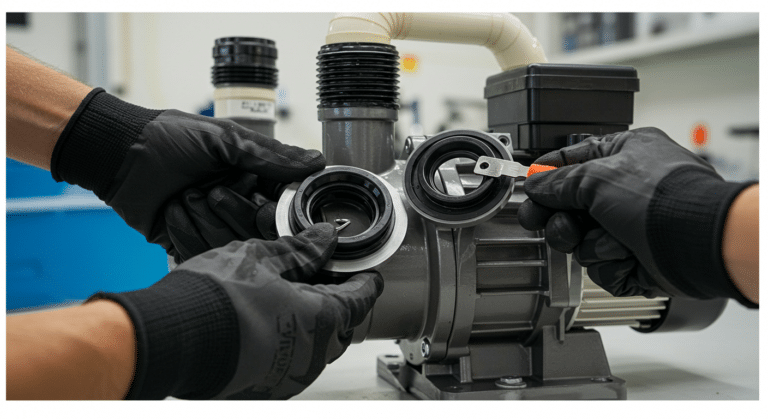
With the equipment isolated and the work area clean, carefully remove the old seal from the gland. Take care not to damage any components of the equipment during this process.
If the old seal includes packing material inside the stuffing box, use a packing extractor tool to remove it completely.
Inspect the removed seal and packing for signs of excessive wear, damage, or contamination that could have caused its failure.
Step 3: Inspect the equipment
After removing the old seal, thoroughly inspect the equipment components that will interact with the new seal, including the shaft, gland, and stuffing box.
Look for any signs of damage, wear, or corrosion on these surfaces. If found, address these issues before installing the new seal to ensure optimal performance and longevity.
Minor imperfections can often be addressed by cleaning and smoothing the surfaces, while more significant damage may require component repair or replacement.
Step 4: Select the correct size of gland packing
Calculate the required cross-sectional area of the packing using the following formula:
Cross-sectional area = (Gland diameter – Shaft diameter) / 2
If the equipment inspection revealed any damage or wear, consider selecting a slightly larger cross-sectional packing size to compensate for these imperfections. This will help ensure a proper seal despite the compromised surfaces.
Step 5: Cut and install gland packing rings
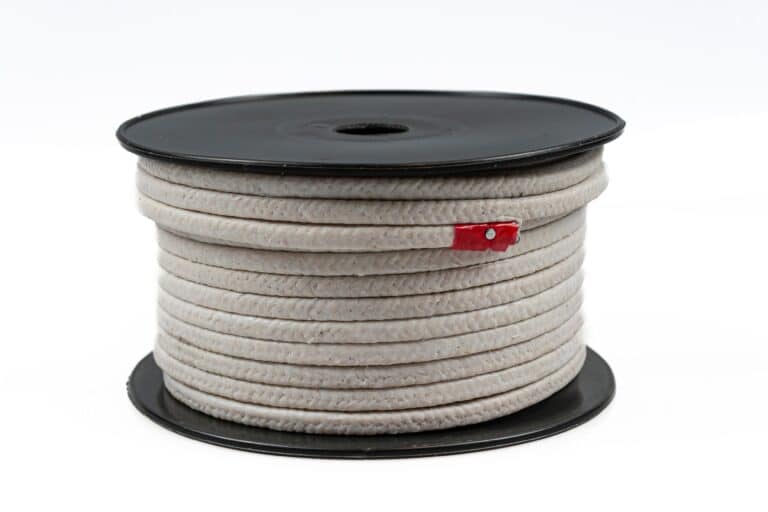
Using the calculated cross-sectional area, cut the gland packing material into rings of the appropriate size. Ensure each ring is cut to the correct length to fit properly around the shaft and inside the stuffing box.
When installing the packing rings, stagger the joints of each ring to prevent creating a direct path for fluid leakage.
Step 6: Install the new seal
With the packing rings in place, install the new seal according to the manufacturer’s instructions.
Use tamping tools to carefully compress and seat the packing rings inside the stuffing box. A resizing tool can be used to ensure the seal is properly seated in the gland without causing any damage.
During this step, it is essential to use the correct lubricant as specified by the seal manufacturer.
Step 7: Tighten the gland nuts
Once the new seal is in place, evenly tighten the gland nuts to compress the packing and create a proper seal. Use a torque wrench to ensure each nut is tightened to the manufacturer’s specified value.
Step 8: Start the equipment
After tightening the gland nuts, start the pump or valve under a no-load condition.
Observe the equipment closely during this initial startup for any signs of abnormal operation, excessive noise, vibration, or leakage. If any issues are detected, shut down the equipment immediately and investigate the cause before proceeding further.
Step 9: Allow for leakage during startup
During the initial startup phase, it is normal and necessary to allow for a small amount of controlled leakage from the newly installed seal. This leakage allows the gland packing to properly position itself and begin functioning as intended.
Operate the equipment for approximately 15-30 minutes, then retighten the gland nuts until the leakage rate falls within the acceptable range specified by the seal or packing manufacturer.
For PTFE gland packing, a typical acceptable leakage rate is 8-10 drops per minute, which allows for proper heat dissipation and accommodates thermal expansion of the material.
Step 10: Adjust the gland
As the equipment continues to operate, monitor the seal’s performance and make adjustments to the gland as necessary. The goal is to achieve the optimal balance between sealing effectiveness and packing life. Adjust the gland nuts gradually while the equipment is running to maintain the desired leakage rate.
Step 11: Check for even compression
While making adjustments to the gland, periodically check for even compression of the packing rings. Uneven compression can lead to localized wear and leakage paths. If uneven compression is detected, make incremental adjustments to the gland nuts to redistribute the sealing forces evenly around the shaft.
Step 12: Allow packing rings to expand and relax
After the initial installation and adjustment period, allow the newly installed packing rings to expand and relax for a certain period. This process, known as “setting” or “cold flow,” allows the packing material to conform to the surface irregularities of the shaft and stuffing box, creating a more effective seal.
Step 13: Test the seal
Once the packing has had sufficient time to set, conduct a thorough leak test of the seal under normal operating conditions. Inspect the gland area for any signs of leakage, such as fluid accumulation or staining. If leakage is detected, make additional adjustments to the gland as necessary to achieve the desired sealing performance.


